If you recall, LifeChurch.tv has been using the Solarwinds Orion NPM (Network Performance Monitor) and APM (Application Performance Monitor) to help make sure our network/services are in tip-top shape for our user community. A few months ago, I blogged about using APM + Exchange 2007. Since then, NPM has gone to version 9.5 service pack 4 and APM has moved to version 3.0 (and recently SP1). Last night I upgraded to the latest version/SP installs and thought I'd document the process. This isn't super exciting stuff, I realize that, but it continues to show me why I like Solarwinds – upgrades are painless and quick.
Solarwinds Orion NPM – Upgrade to v9.5 SP4
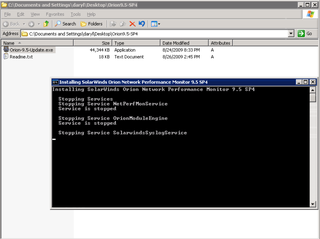
Well, like any upgrade, go download the latest latest service pack from your customer portal. Download the update and unzip it to somewhere useful. Now, launch the update.
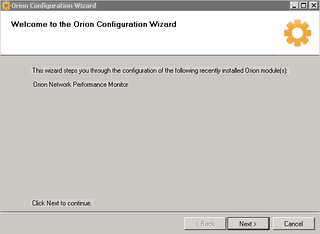
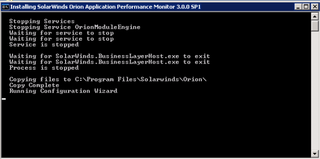
It launches a "DOS-like" window – and does some magic. This takes just a minute. When it's done, setup will automatically launch the Orion Configuration Wizard to make any necessary database, network, website changes.
Yup, that's right. Orion NPM. Click Next.
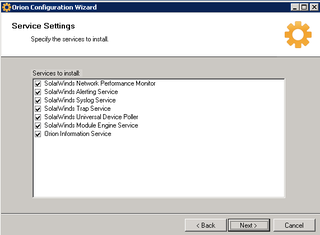
These are the Services to be adjusted. Click Next.
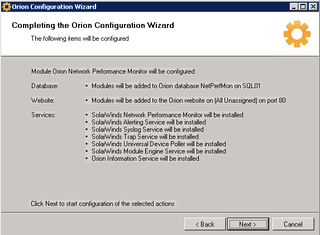
Summary page. Database NetPerfMon to be adjusted on the server SQL01. Website to be adjusted. And, those services from before will be installed. Click Next and let it happen.
Great. You're done. For me, this took about 7 minutes. Painless, huh?
Solarwinds APM – Upgrade from v2.5 to v3.0
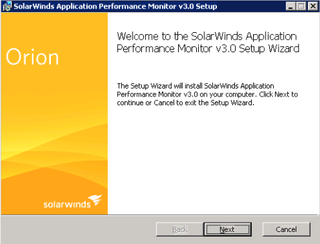
Until this time, I've been running APM v2.5 to monitor my applications. The APM v3.0 update came out, but I hadn't taken time to install it yet. Let's do that. Again, start at the customer portal. Download APM v3.0 and unzip it somewhere useful. Launch the setup program.
Click Next.
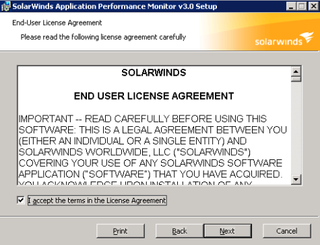
Accept the EULA. Click Next.
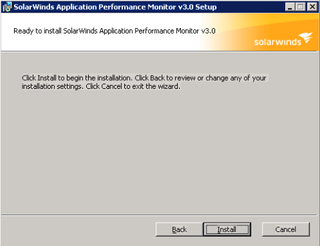
Ready. Click Install.
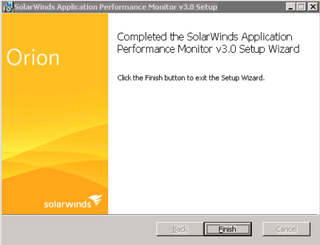
All done. That took about 1 minute. Click Finish. Setup will auto-launch the licensing/activation wizard.
Click Enter Licensing Information.
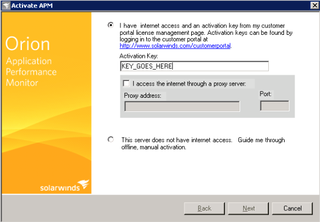
Great. Enter your key and Click Next.
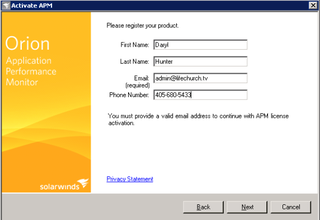
Enter your activation information. Click Next.
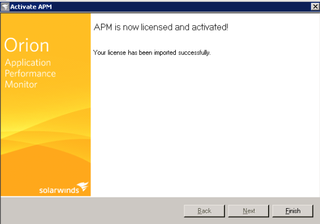
Hooray! Now, Click Finish. Setup will auto-launch the Orion Configuration Wizard.
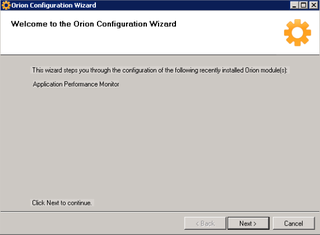
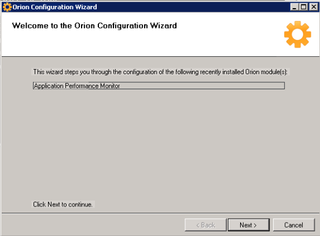
Yup. APM is what we installed. Click Next.
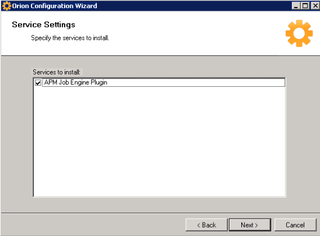
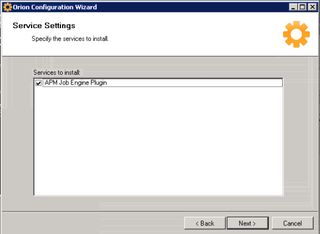
Yes, we'll install the APM Plugin. Click Next.
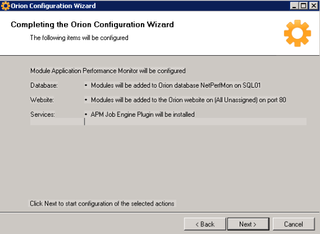
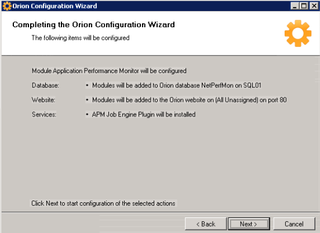
Yup. Time to modify the database on SQL01, website, and adjust the plugin. Click Next.
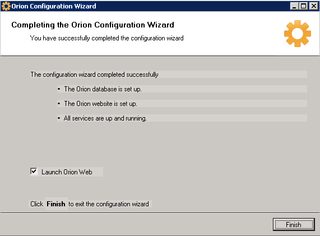
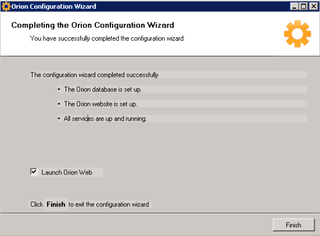
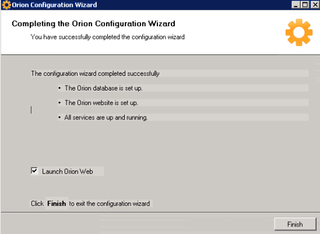
All done! Click Finish. Let's get the SP1 update done while we're here.
Update Solarwinds APM 3.0 to SP1
Okay, as always, download the update from the customer portal. Unzip it and launch the update program like normal.
It does it's "DOS-like" update – then auto launches the Orion Configuration Wizard.
Yup. APM. Next.
Yes, gonna upgrade this Plugin. Next.
Summary. Next.
Hooray! Done! Click Finish.
All in all, I'd estimate less than 30 minutes to upgrade both Orion NPM to v9.5 SP4, to upgrade APM from v2.5 to v3.0, and then to apply the v3.0 SP1 for APM. A whole bunch of "next next next" clicking.
Up next – Solarwinds IPAM – IP Address Management – another module for Orion that we're just beginning to use. Watch for it soon…

Ok, since I am trying to do this again and my pea brain forgot you had this post and I even commented on it… 🙂 I’ll answer your question. Split DNS is necessary when (like in our situation) the INTERNAL domain and EXTERNAL domain are the same (i.e. both abcde.com). Don’t ask – I inherited it. Since my ftp and website are not onsite and http://www.abcde.com searches internal DNS first (when onsite) then I have an A record entry in my internal DNS to point www. and ftp. to external hosts. Using this same concept I can accomplish the DNS rewrite at the DNS server level instead of the gateway.
I would like to know how Solaris Orion is better performance monitoring tool than any other tool available in the market and what is its best feature.
Thanks,
Nikhil