Hello friends! And now it’s time for something COMPLETELY different for me – Windows! Yes. Windows. Recently I’ve taken an interest in Windows 365 which is a cloud-based service that automatically creates a new type of Windows virtual machine (Cloud PCs) for your end users. It’s hosted in the Windows 365 service and is accessible from anywhere, on any device. There are lots of knobs and twists and ways to customer a Windows 365 Cloud PC for your Enterprise and even Frontline users. There is even a hardware appliance in preview – called Windows 365 Link – and I want to get my hands on one of those!
I have some dated adjacent experience with VDI / Virtualization infrastructure in previous roles. I have recent adjacent experience with all the work I do every day inside Intune for things like device management and deployment. Cloud PC caught my eye last year and I’ve been waiting for an opportunity to dig in – so – let’s do that. I plan to do several Windows 365 posts over the coming months, so, this is post #1. I guess we should start at the beginning.
Deployment Overview
Let’s start with the simple deployment overview page for Windows 365.
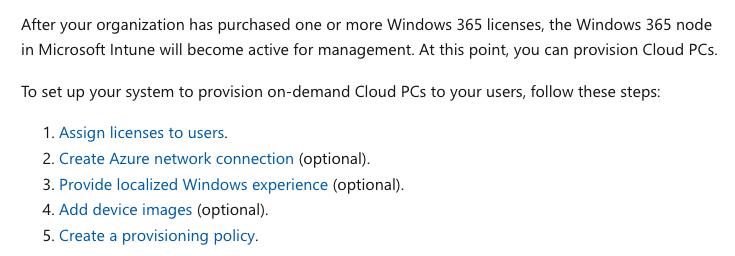
This sounds quite simple especailly with bullets 2, 3 and 4 being optional and all 🙂
Assign licenses to user
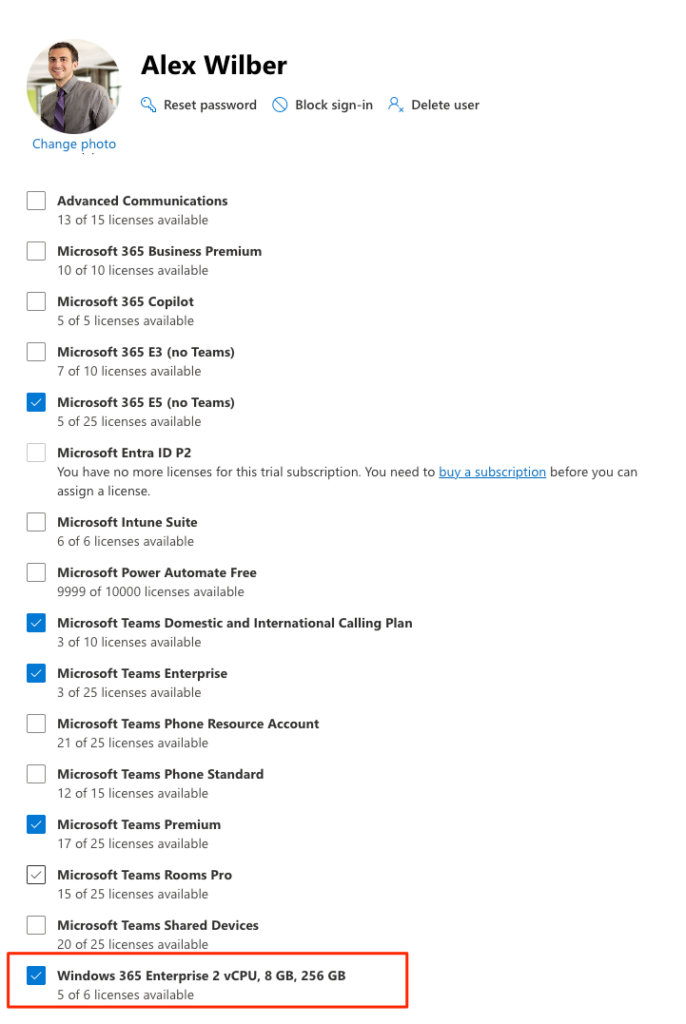
Okay, let’s start with licenses. That’s step #1 after all. In my Microsoft 365 tenant, I need to acquire Windows 365 licenses and there are quite a variety of sizing / licensing options to choose from. I chose to acquire Windows 365 Enterprise 2 vCPU, 8GB, 256 GB licenses. Those are reasonable starting points. Great. Now I need to assign it. Let’s navigate to M365 Admin -> https://admin.microsoft.com and get the job done. I’ll head to Users and assign this license to a couple users – Alex & Pradeep. For Alex, he has a variety of licenses already, so, I’ll just add Windows 365 and save those changes.

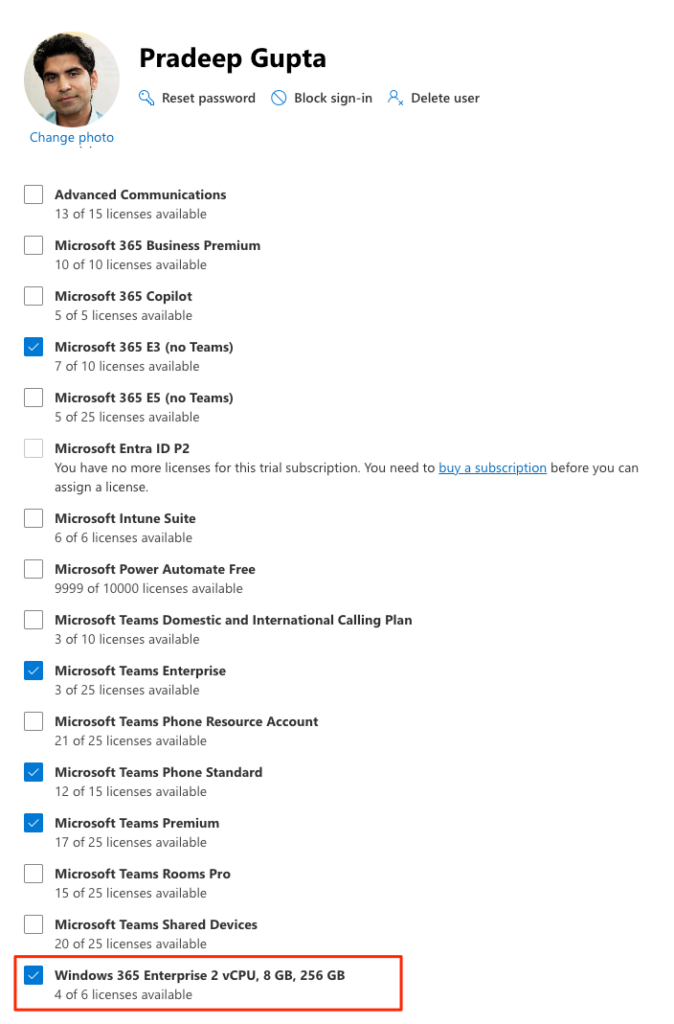
Same with Pradeep. He has a few things, let’s get Windows 365 added and save those changes.

Let’s move on
Create Azure network connection (optional)
So, the Cloud PC will be in – you know – the Cloud and all. What if I have line of business applications, or appliances in my enterprise network that I need access to? That’s where Windows 365 uses ANC (Azure Networking Connections) to handle that connectivity. This would be super helpful for having a Windows 365 Cloud PC for handling things like network infra, or device management. You can have up to 50 ANCs per tenant to support a wide variety of enterprise things. But, in our case, this is optional and I’m not going to do it. I’ll skip this.
Provide localized Windows experience (optional)
For users to be productive on their Windows 365 Cloud PC, it’s important for Windows to use a display language that they’re comfortable with. Users can always change the display language themselves through the Settings app in Windows. But the Windows experience is more welcoming if the user sees the right language immediately, starting when they first sign in. That’s where a Localization experience could come in handy and our Windows 365 localization guide gives some great details and handy URLs to customize your experience. But, in our case, this is optional and I’m not going to do it. I’ll skip this.
Add device images (optional)
If you want to use a custom device image, you can add it into your Azure subscription and then use it for provisioning Cloud PCs. You can use standard Azure Marketplace gallery images or create your own custom managed image. If you currently use an Azure Compute Gallery in Microsoft Azure, you can convert one of those images into a managed image. I can see where this would be incredibly useful for Enterprises who want more control and consistency in their OS experience – similar to how VDI customers create a “golden image” to provision and similar to how customers use management tools to control what is / isn’t installed on devices. But, in our case, this is optional and I’m not going to do it. I’ll simply use one of the standard Azure Marketplace gallery images for Windows 11. I’ll skip this.
Create a provisioning policy
This is where it all comes together. Cloud PCs are created and assigned to users based on provisioning policies. These policies hold key provisioning rules and settings that let the Windows 365 service set up and configure the right Cloud PCs for your users. After provisioning policies are created and assigned to the Microsoft Entra user security groups or Microsoft 365 Groups, the Windows 365 service:
- Configures the Cloud PCs accordingly.
- Checks for appropriate licensing.
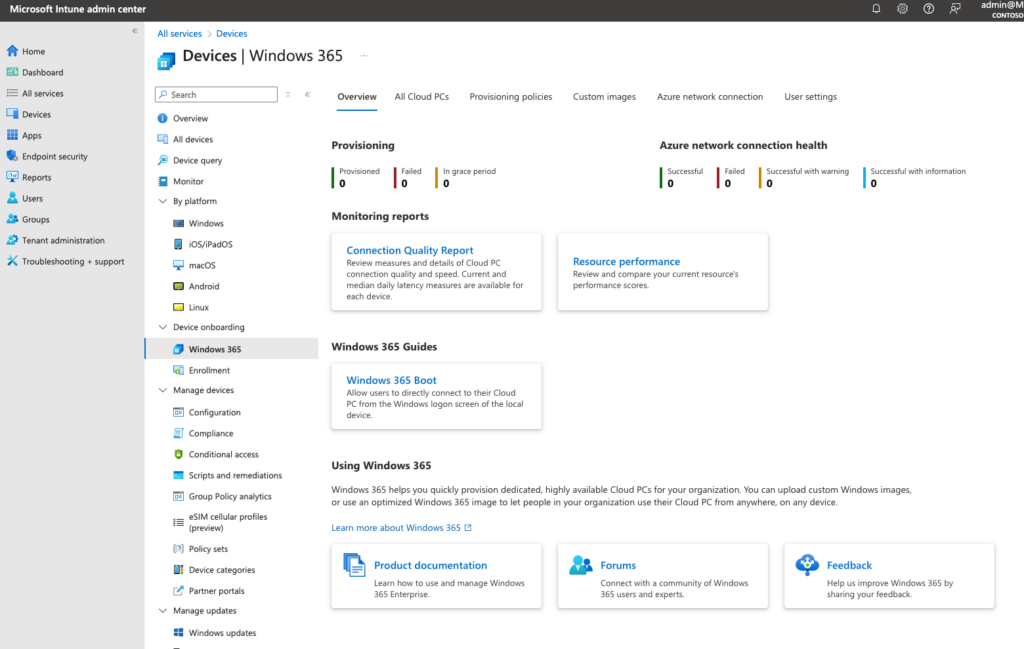
We want Intune for this. So, head to Intune Admin -> https://intune.microsoft.com -> Devices -> Device onboarding -> Windows 365 pane. This shows up in Intune when you purchase Windows 365 licenses. This pane is where the Windows 365 magic happens.
Let’s look at All Cloud PCs
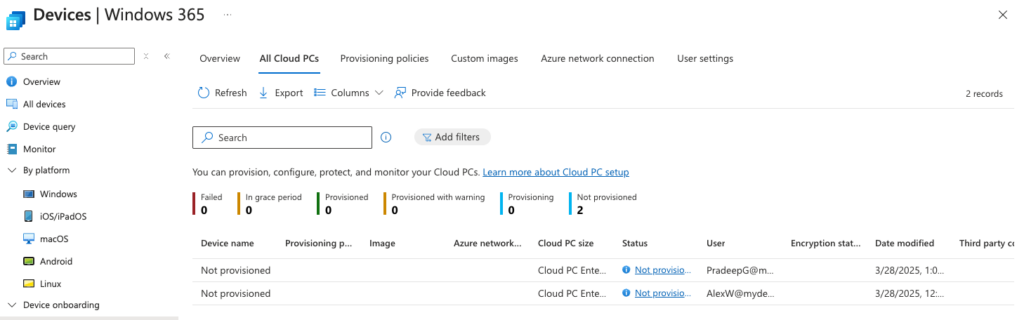
Notice that Alex and Pradeep are here (because we gave them licenses) but they don’t have Devices yet. They are are in the “not provisioned” status.
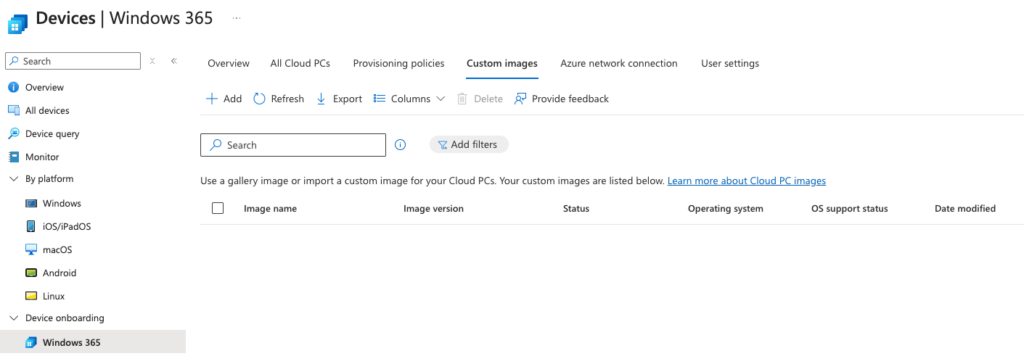
If we had created a custom image, it would show up in the Custom images tab
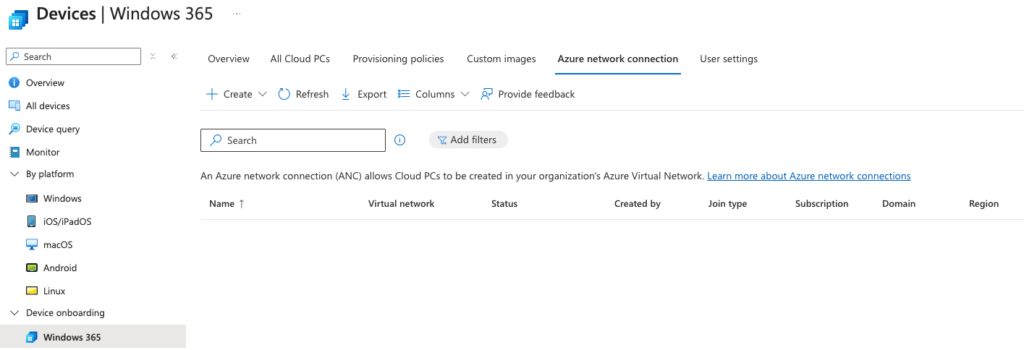
Likewise, if we were using an Azure network connect, it would show up in that tab
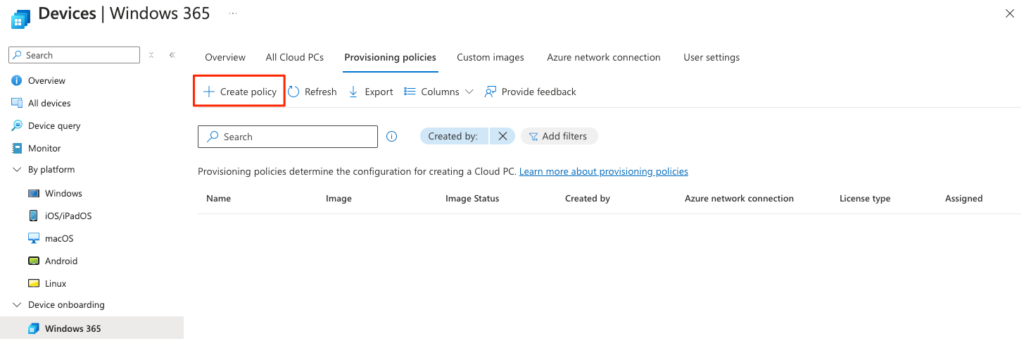
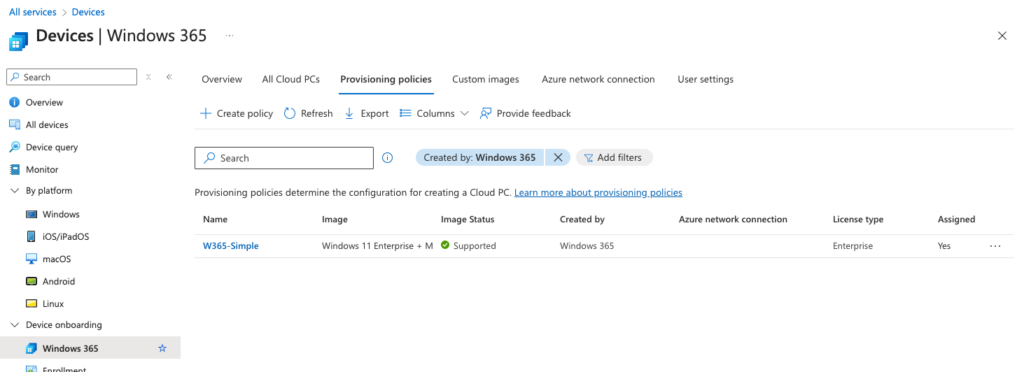
We want to create our first Provisioning Policy – so – open that tab and click Create policy
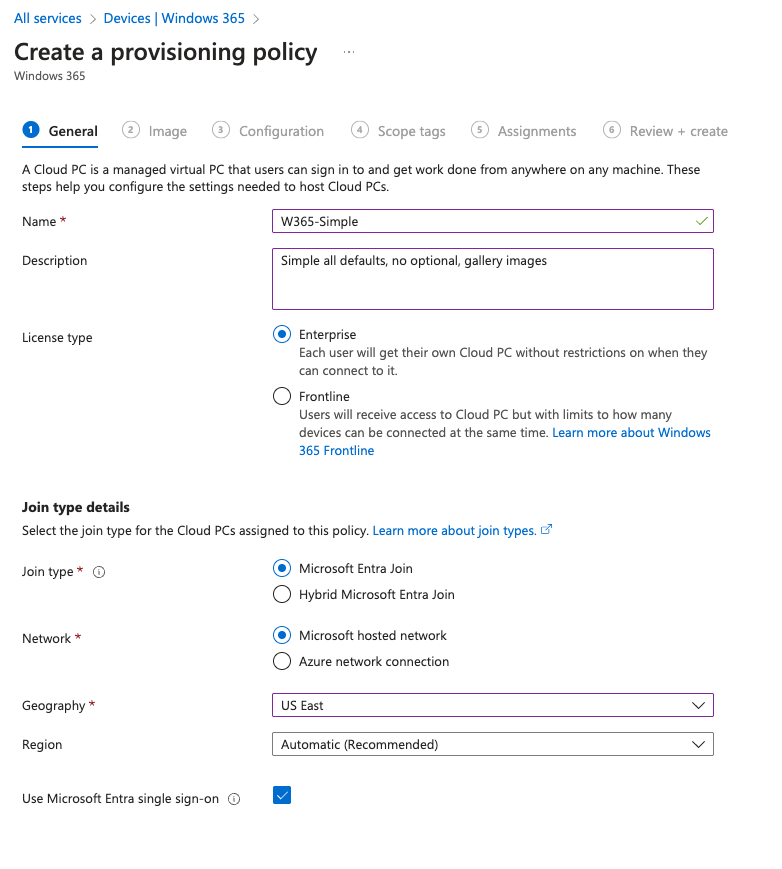
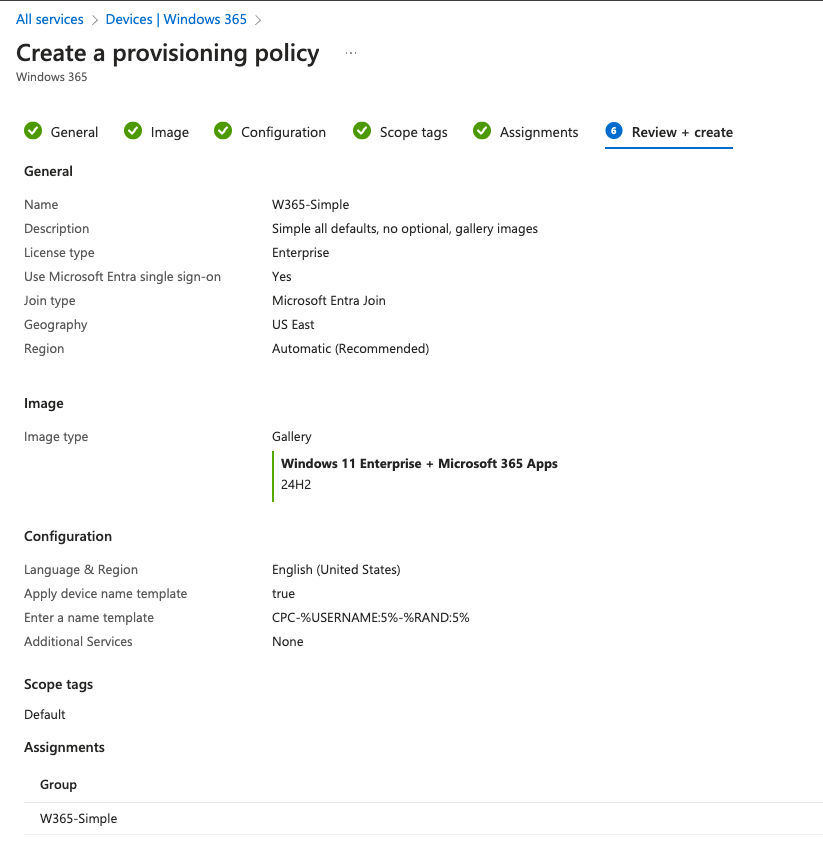
Let’s give it a reasonable name and description. In our case, since we’re not doing any of the optional items, we’ll choose Microsoft Entra Join, Microsoft hosted network, and I’ll put it in US East. I also want to use SSO for simple authentication. Click Next.
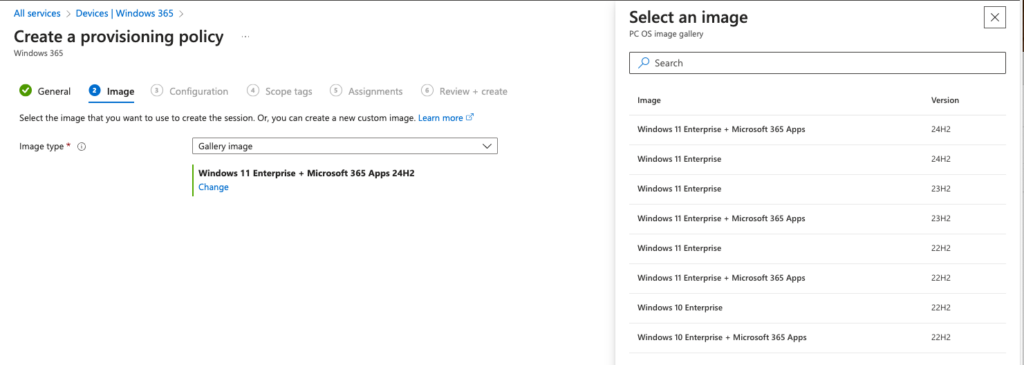
I want to use a simple Gallery Image, so, I’ll choose the latest Windows 11 Enterprise + Microsoft 365 Apps 24H2 image. Click next.
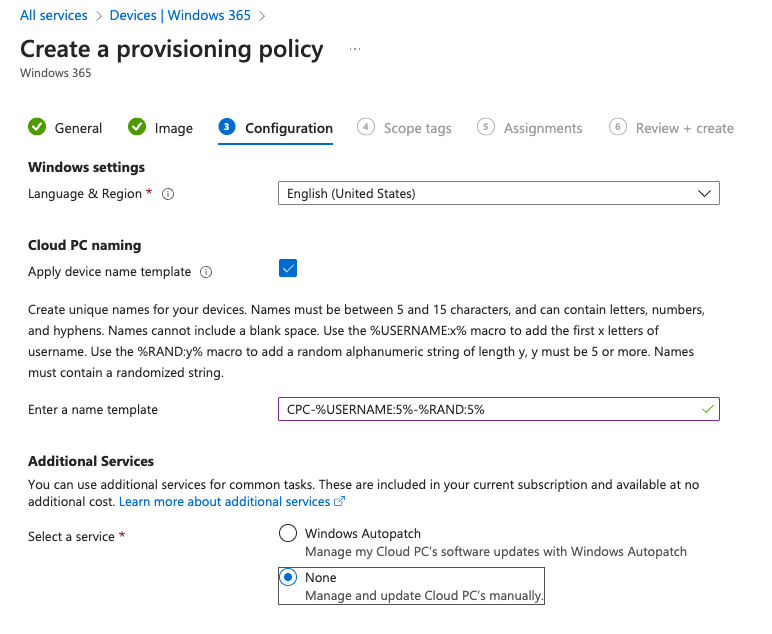
I am using English and I’ll choose the “standard” naming template which is: CPC-first 5 letters of username-5 random digits. That’s the CPC-%USERNAME:5%-%RAND:5% you see. I also am not setting up autopatch. I’ll just keep this plain vanilla. Click next.
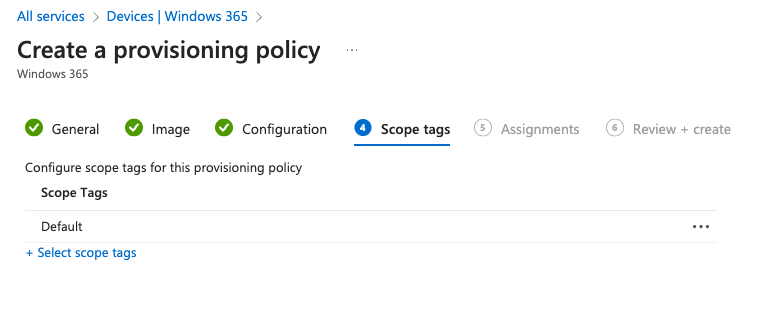
No scope tags for me. Click next.
I need to assign this to my users – Alex & Pradeep. But, I can only use a Group.

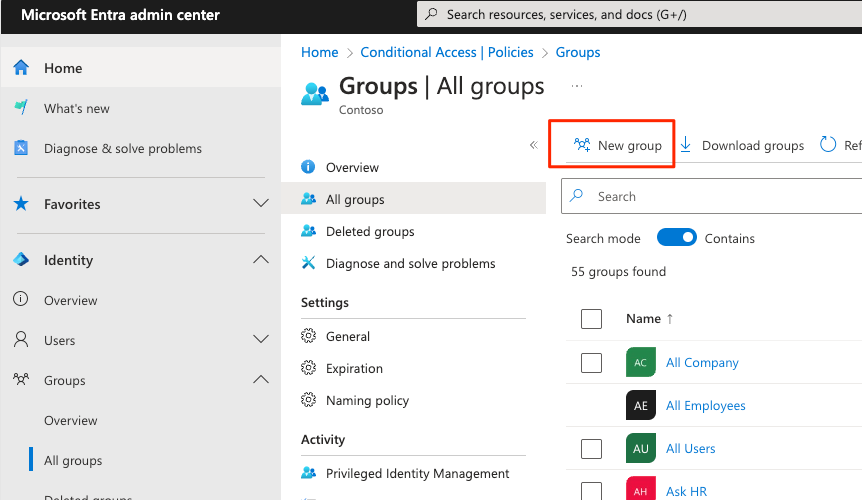
So, I guess now we head to Entra Admin -> https://entra.microsoft.com to create a simple M365 Security Group to use for this. That’s in Identity -> Groups -> New Group.
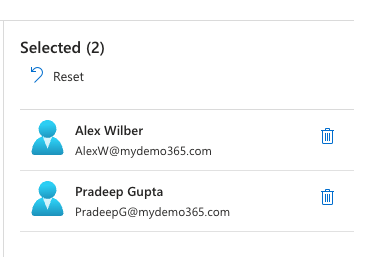
I’ll choose my owners and then add Alex & Pradeep to my group.

Click create. Group is created. Now back to Intune so we can scope this group.
Click Select.
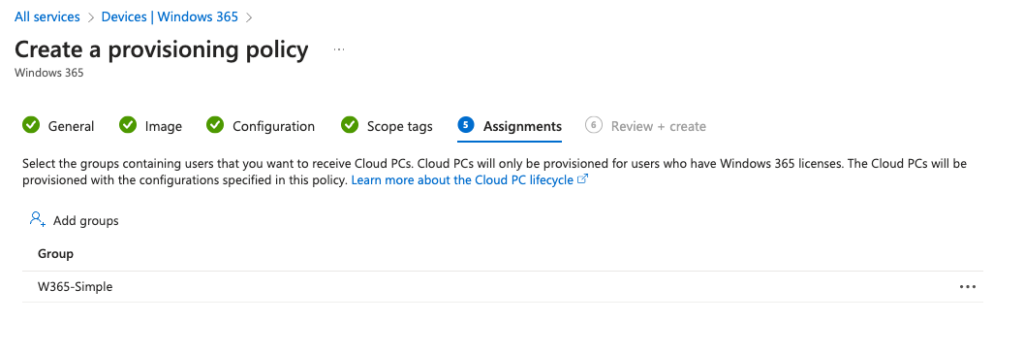
Click Next.
Review all of your settings. And if you’re happy like I am, click Create.
Awesome. You did it!
Let’s go back to the “All Cloud PCs” tab.
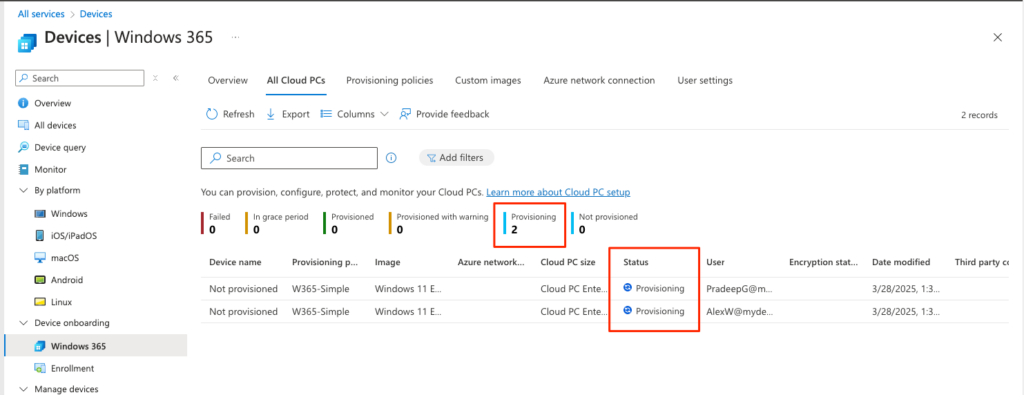
Good news! Your licensing is good. Your scoping is good. The two users Alex and Pradeep who previously only had a license, now has a provisioning policy and their Cloud PCs are being provisioned. You now need to wait a Microsoft minute – or – about 30 minutes which is the expected time. Go take the dog for a walk. Welcome back!
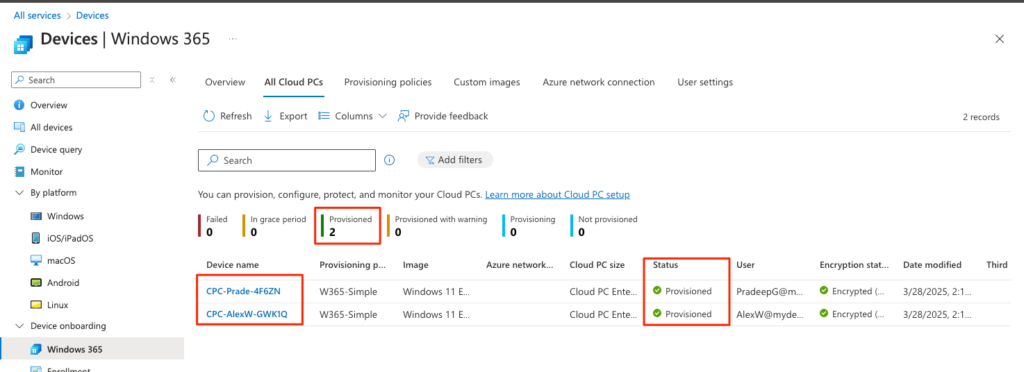
That looks good! They are provisioned with the naming convention I set above. Success!
Let’s Test
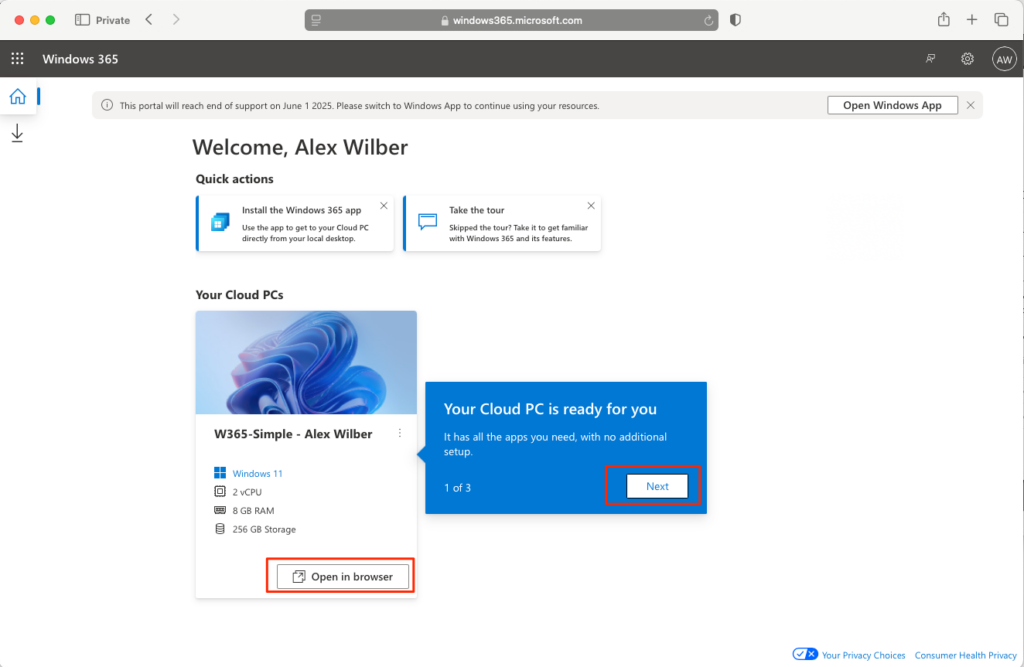
I guess we should test. There are multiple methods to access a Cloud PC. In our case, we’ll just use a simple web browser. Let’s navigate to https://windows365.microsoft.com and login as Alex using his username, password, and of course MFA that I have setup.

That looks promising. Click Next a few times to get through the FRE – First Run Experience.
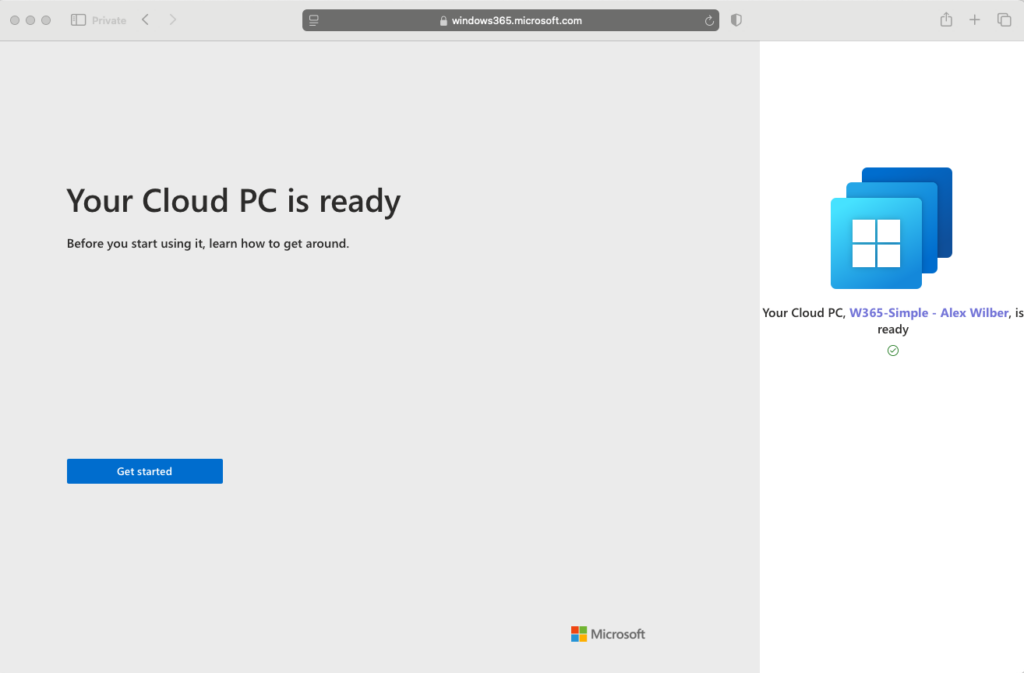
Click Get Started to launch the Windows 365 Home Screen experience. You can navigate the “tips” if you want by clicking Next. When that’s done, click the “Open in browser” button.
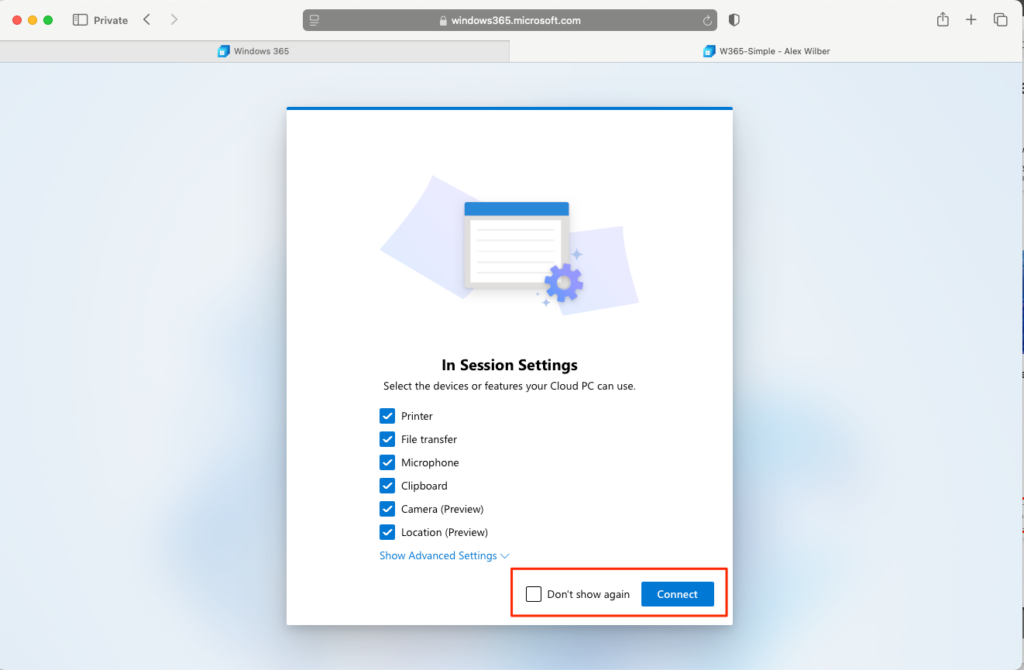
Great. you can set your “In Session Settings” if you’d like. I’ll click “Don’t show again” and then Connect.
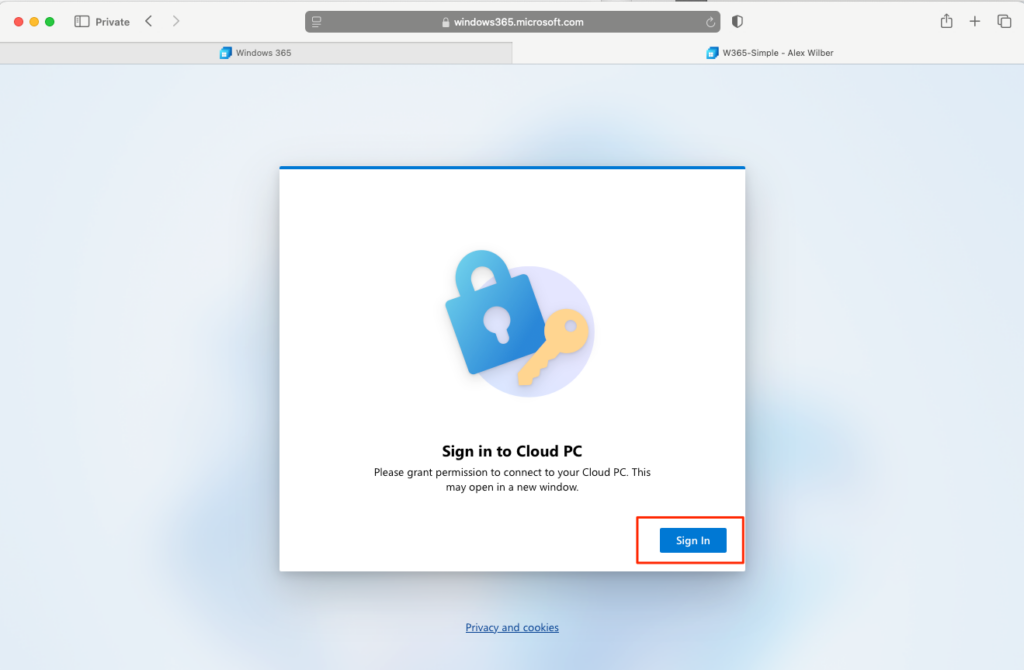
Alright! Launched! Let’s click Sign In and complete any auth + MFA as needed.
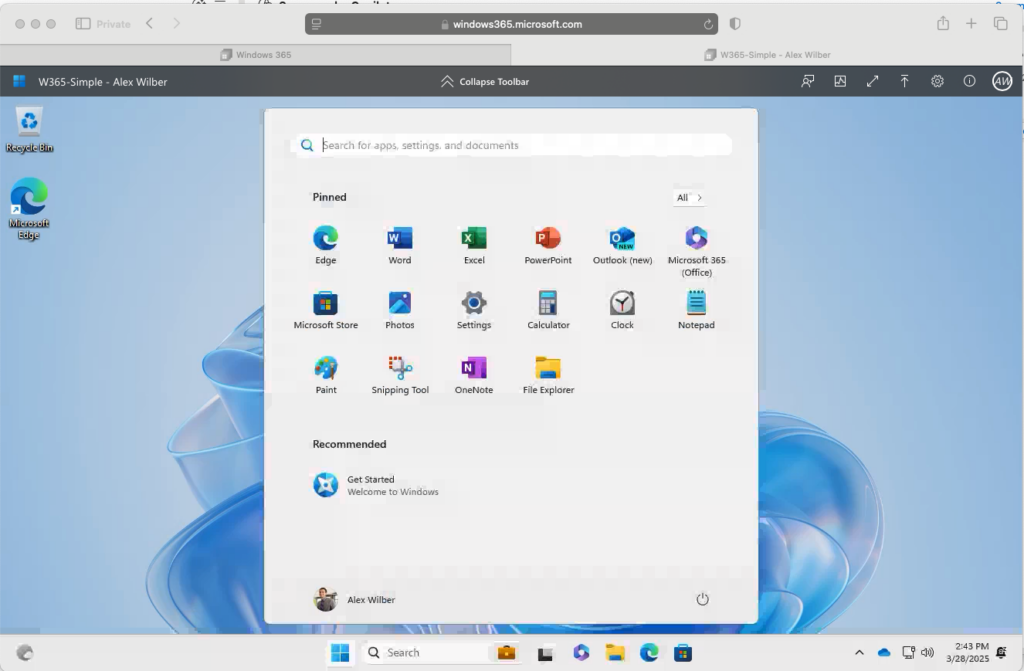
Sweet! Looks like Windows 11!
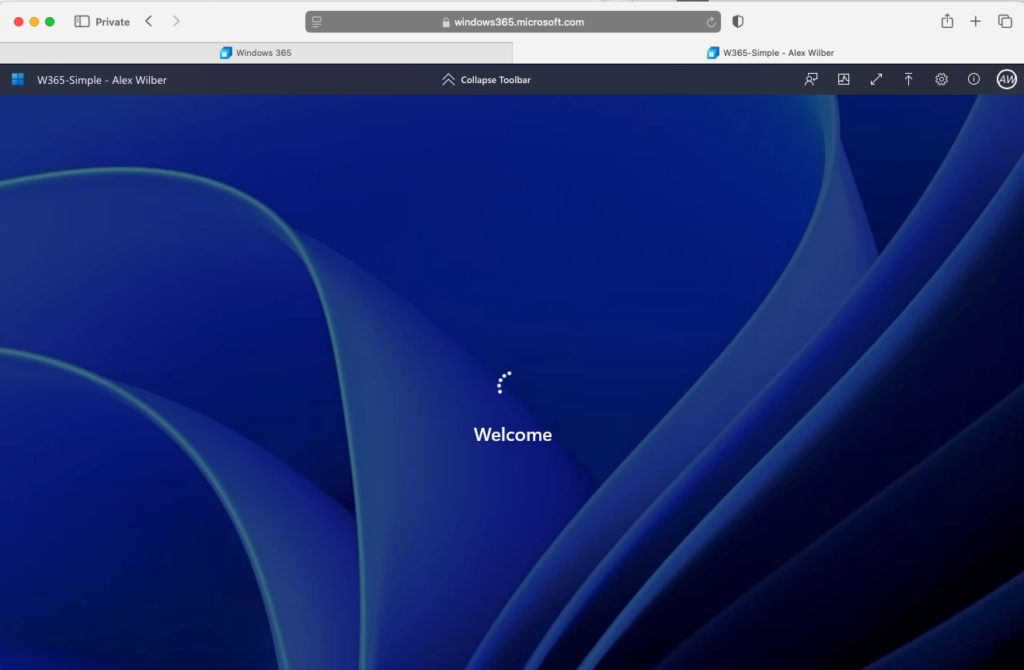
Done! Logged in!
Let’s end here and go find some victory ice cream!
Final Thought re: Entra Groups for Windows 365
When I was working on the Provisoining policy, as you recall, I couldn’t assign to an end-user directly. I have to use an Entra Group. That’s fine. But, also, in the Licensing step, you could assign licenses based on an Entra Group as well. I think for future Windows 365 projects, I’ll create an Entra Group first – and then use that Group *both* for licensing and *also* for the provisioning policy. Hindsight is 20/20.
That’s all for today! I’ll continue to add more learnings and labs and blogs for Windows 365 as I get deeper into the technology!