Howdy! If you’ve been a long-time reader, you know I spend most of my time writing about technical concepts like networking, or Microsoft Teams in general, but mostly around Teams Phone and Teams Devices. One thing I’ve never walked through here is building a Teams Phone Direct Routing lab with a Session Border Controller (SBC). I figured it was time. So, this will be a multi-part series focused on building a Teams Phone Lab, using Direct Routing. Let’s start with AudioCodes. Fun fact, I used to work there. I really loved my time at AudioCodes. I was the “phone guy” for North America and spent most of my time equipping partners and customers on their “mostly” Microsoft focused phone journey. I got to travel a lot including multiple trips to AudioCodes HQ in Israel.

I have super fond memories of my AudioCodes journey and made some lifelong friends on the way! Even though Microsoft wasn’t on my radar as far as a career, I realize how much my time at AudioCodes as an employee and a trusted advisor to our customers/partners really prepared me for the role I’m in today at Microsoft. I’m forever grateful.
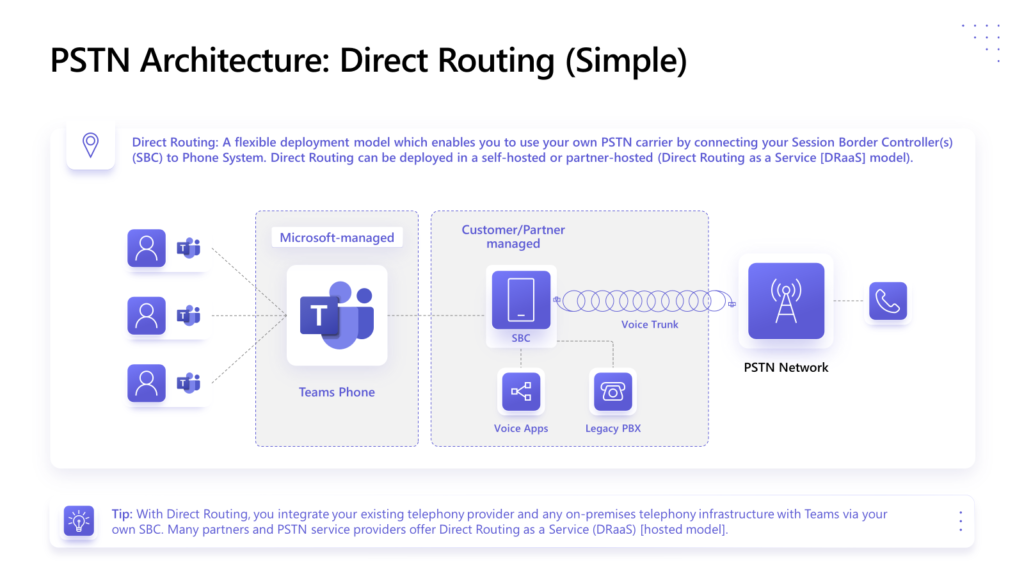
Direct Routing is just one of the ways you can get Phone service in your Microsoft Teams environment. Direct Routing is the method by which you connect your telco/PSTN provider to Teams via a Session Border Controller (some might just call it a voice router, but, it’s more than that). Here is a simplified drawing showing you how Direct Routing fits into the Teams Phone PSTN Architecture:
To get started, you need a number of things. You can read the full details in the “Plan for Direct Routing” document, but, I’ll add just a few bullet points below to guide us in this article series:
- Microsoft 365 Environment, Users homed online (not on-premises)
- Any Teams license that also is bundled with or supports Teams Phone as an add-on license (this includes users, Shared Devices (Common Area Phones), and also Teams Rooms licenses
- A public domain properly connected to your M365 Environment. This needs to be in the form of domain.com and you cannot use any tenant that is part of the *.onmicrosoft.com domain structure.
- A properly deployed physical or virtual Session Border Controller
- Properly configured SSL certificates for secure communication with the SBC
- A properly configured Session Border Controller to connect to Teams & PSTN Telco
- Properly configured Teams environment to connect to the SBC
- Properly configured Teams identities (users / devices) with licensing and Teams Phone enablement
Microsoft 365 Environment
We’ll use my test lab today. This is a Microsoft 365 environment that has all users homed online and has all the proper licensing. You can see a snapshot of the relevant licensing I have here in M365 Admin Center -> Billing -> Licenses:
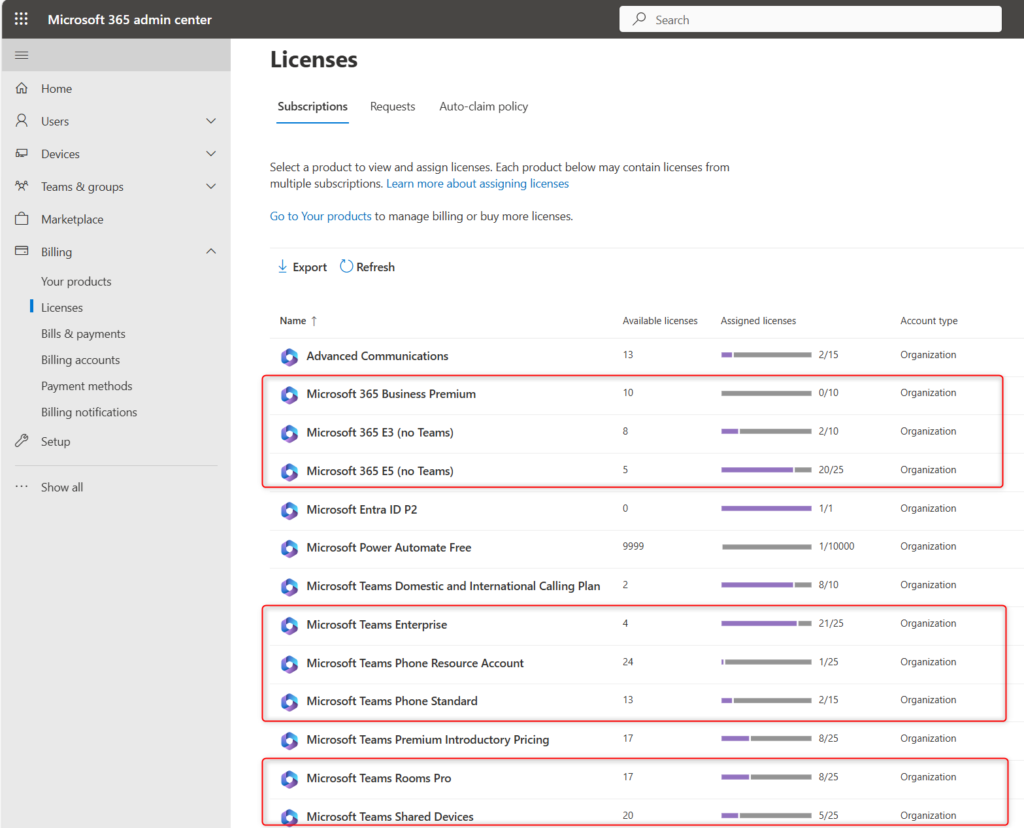
This would cover a wide variety of scenarios for users bundled with Teams Phone licenses, or with Standalone/Add-on licenses, and even devices. I’m all set there.
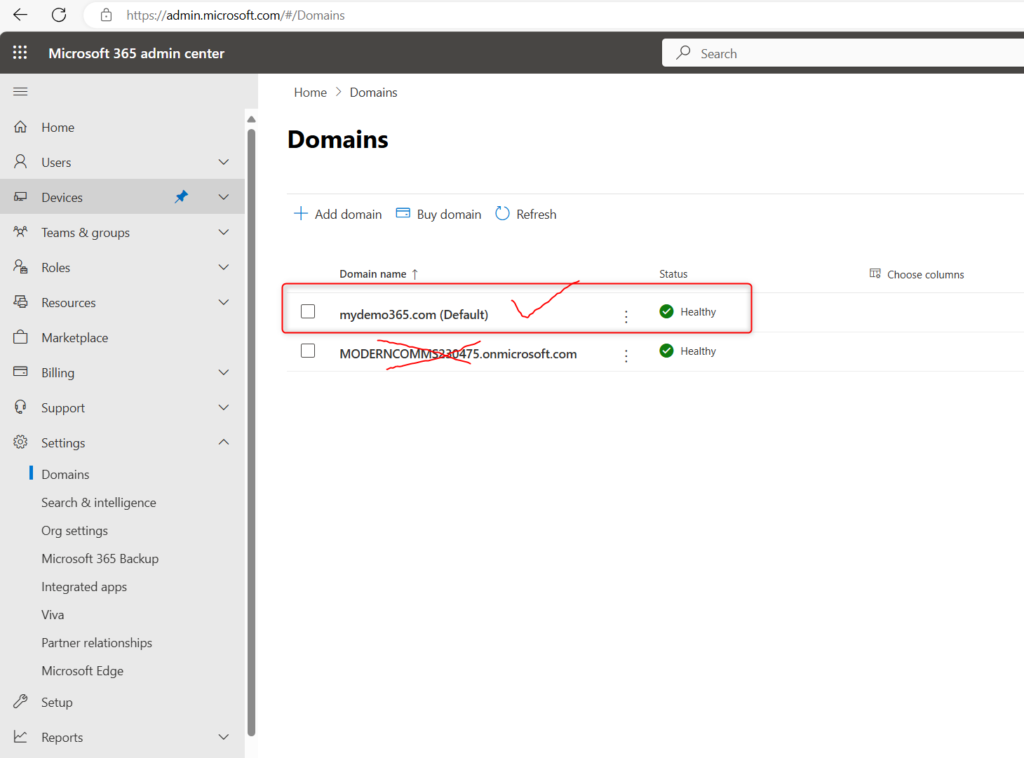
Additionally, if we check M365 Admin Center -> Settings -> Domains you can see my “mydemo365.com” domain. This is the one that meets the requirements for Direct Routing. I cannot use my “onmicrosoft.com” domain.
Session Border Controller Deployment
There are a number of certified Direct Routing Session Border Controllers (SBCs). You can find an entire list here. I am going to focus on AudioCodes Virtual Edition (VE) deployed via the Azure Marketplace.
Start by navigating to the Azure Portal and let’s validate that we have an Azure Subscription. Navigate to https://portal.azure.com and click on Subscriptions.
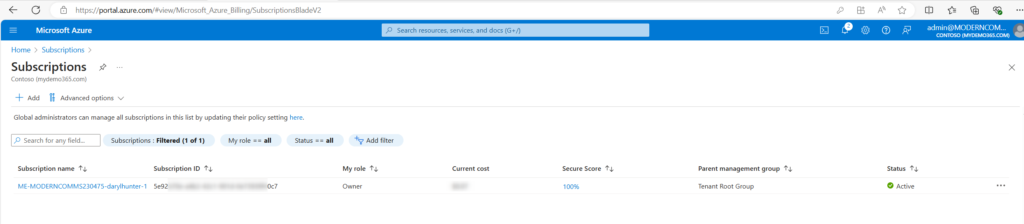
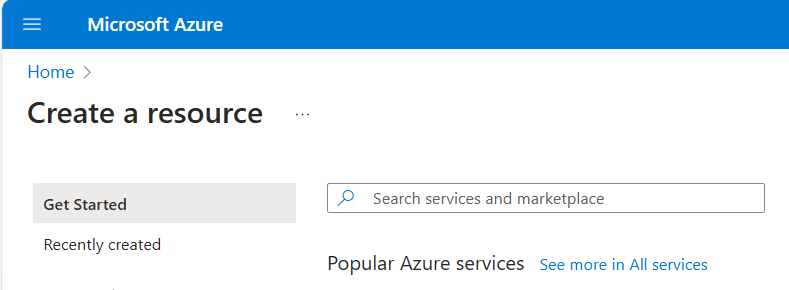
Yup, all set. I have a subscription. Let’s head to the Azure Marketplace and deploy an SBC. Via the Azure portal – https://portal.azure.com – Create a resource
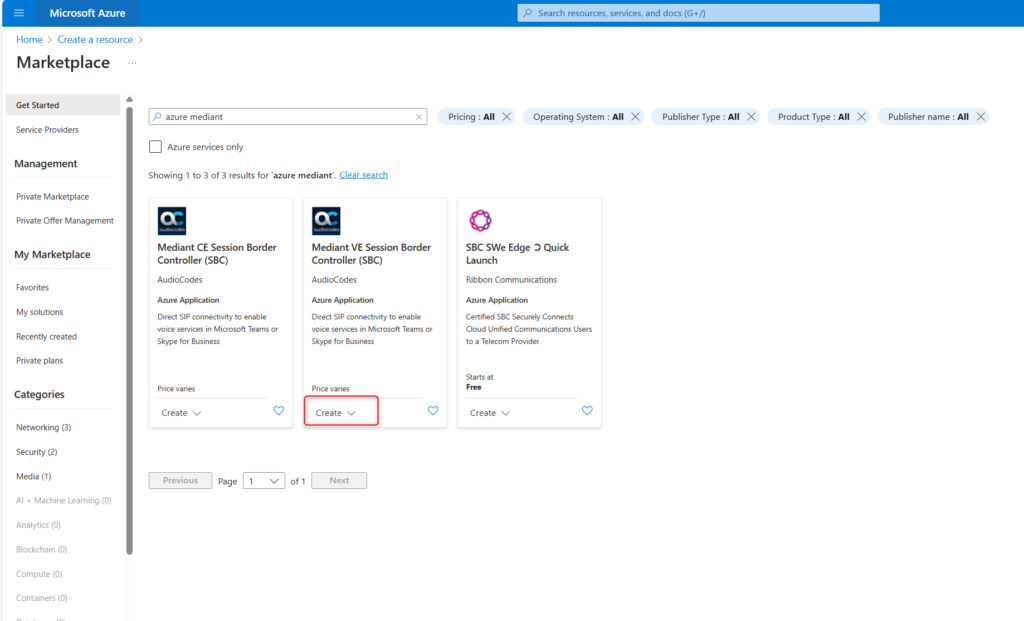
Let’s search for audiocodes mediant
Let’s create an AudioCodes Mediant Virtual Edition (VE) SBC
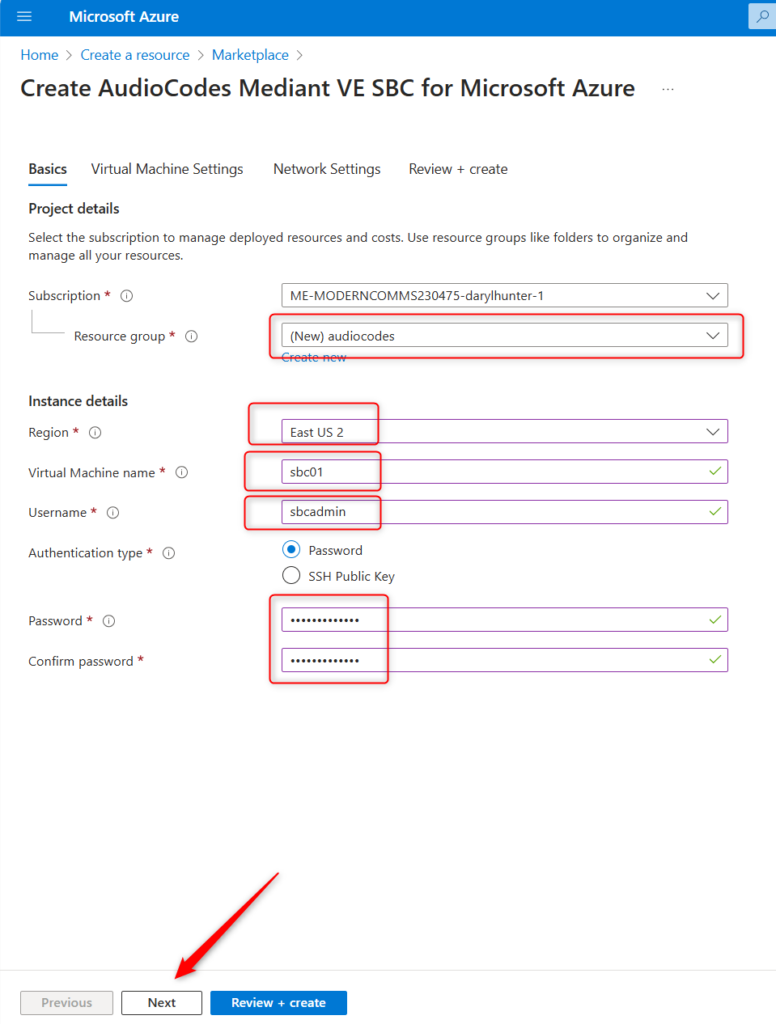
Great. Let’s start filling in the details. You’ll want to make sure the proper subscription is chosen (in my case, I only have one), choose an existing resource group, or create a new one (I called mine audiocodes), select your appropriate Region (I chose East US 2), select a good VM name (I chose sbc01 because I’ll probably have an sbc02 or sbc03 eventually), choose a good admin name (it cannot be admin itself, must be different – I chose sbcadmin), and then choose an auth method (I chose password and it needs to be a complex password 12 or more digits in length). Click Next.
Choose your VM sizing details. I went with the standard defaults. Click Next.
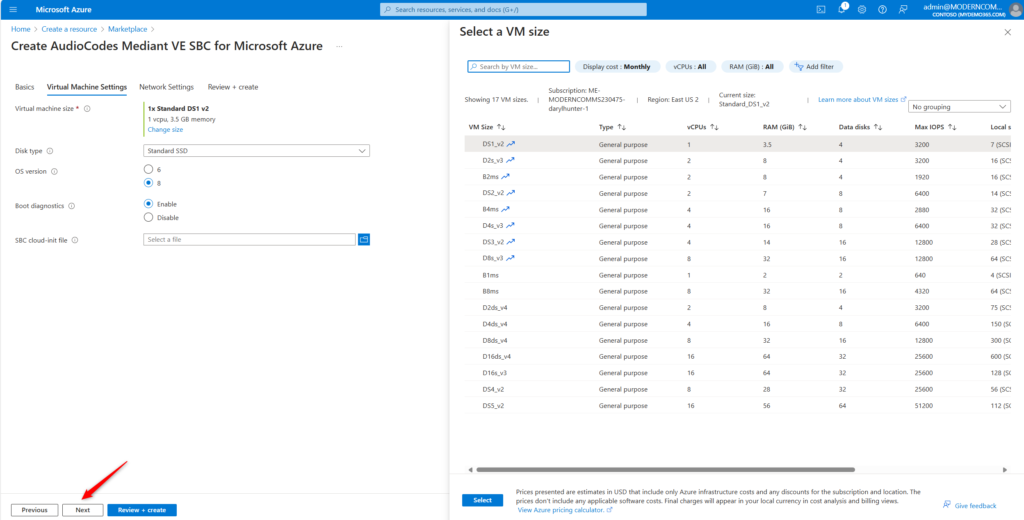
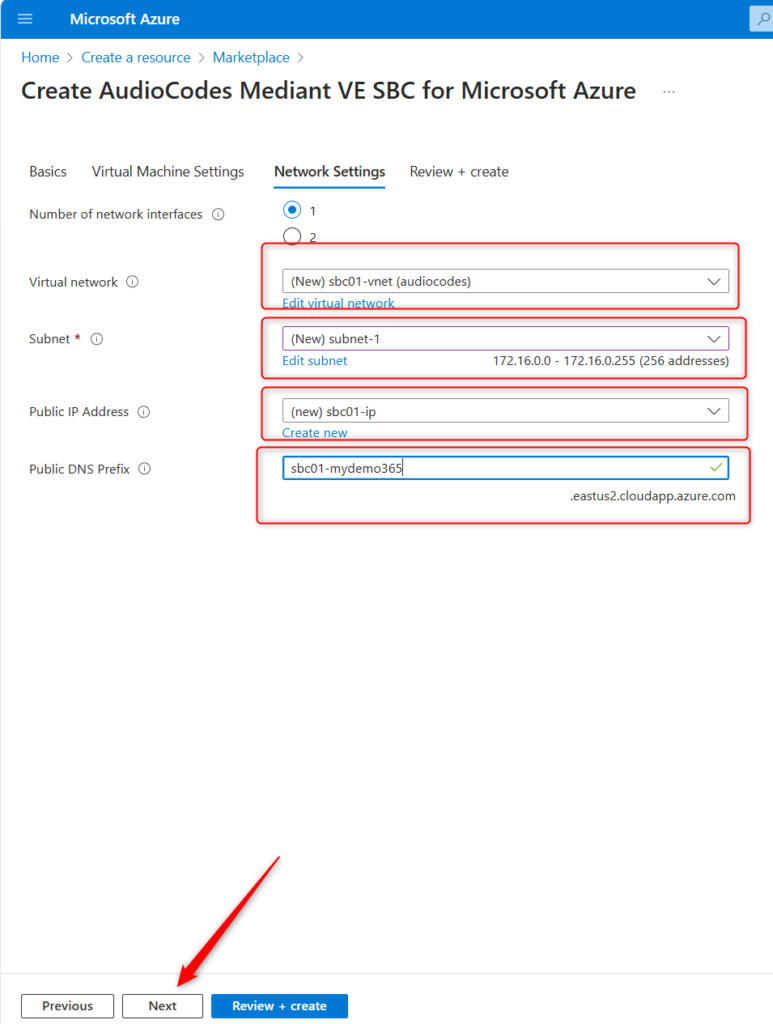
Choose your networking details. Again, I went with all defaults here except I *did* choose a custom DNS name for the azure-based DNS entry. Click Next.
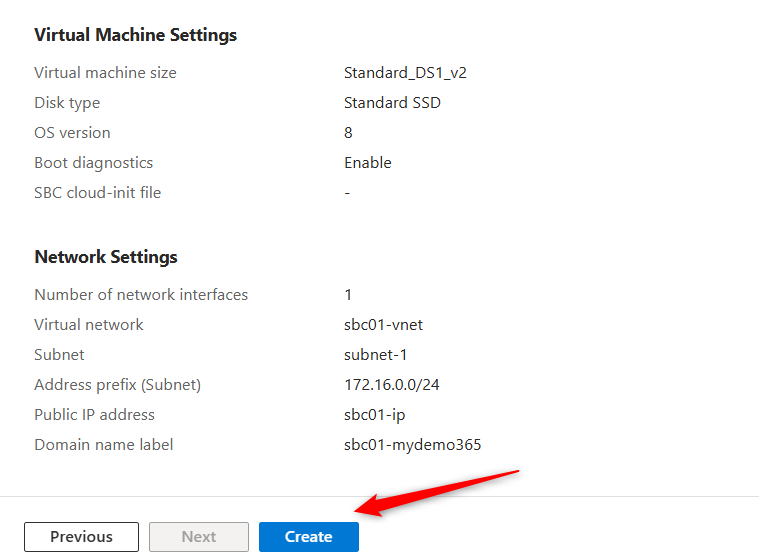
Now, let’s check everything and get this bad boy created. Review and then click Create.
Now you can track the progress of creating this SBC
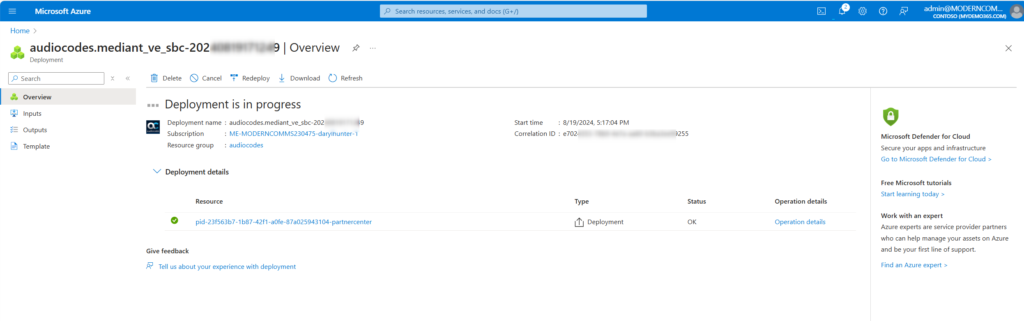
Wait just a few “Microsoft minutes” and your deployment will finish! You can expand the details and see everything that was done for you!
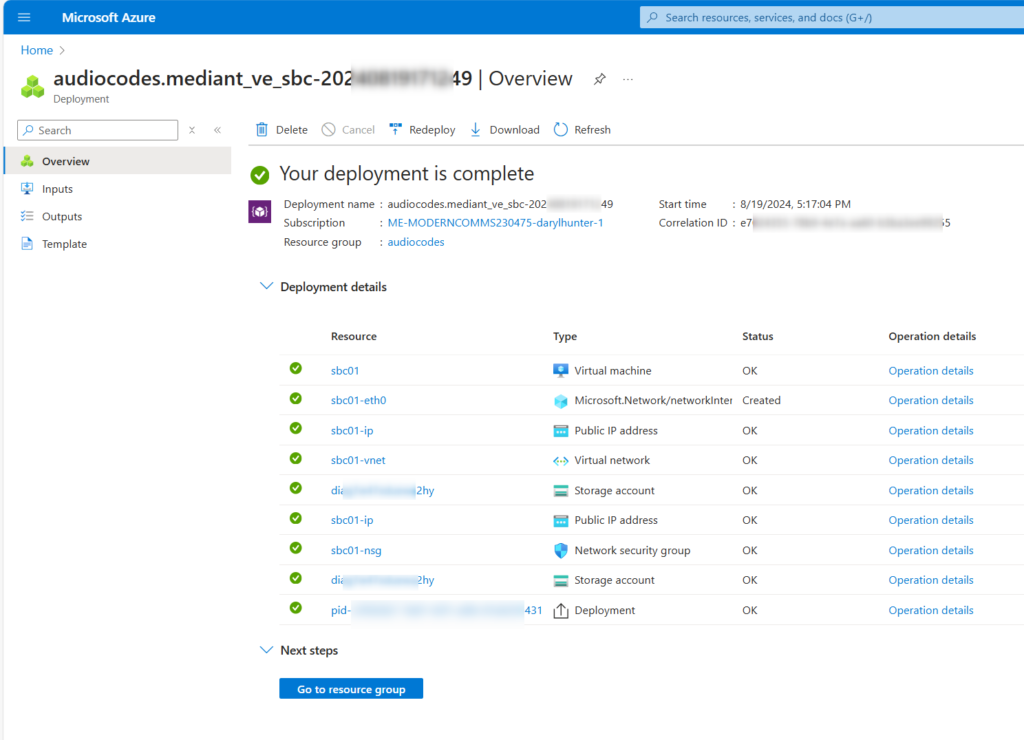
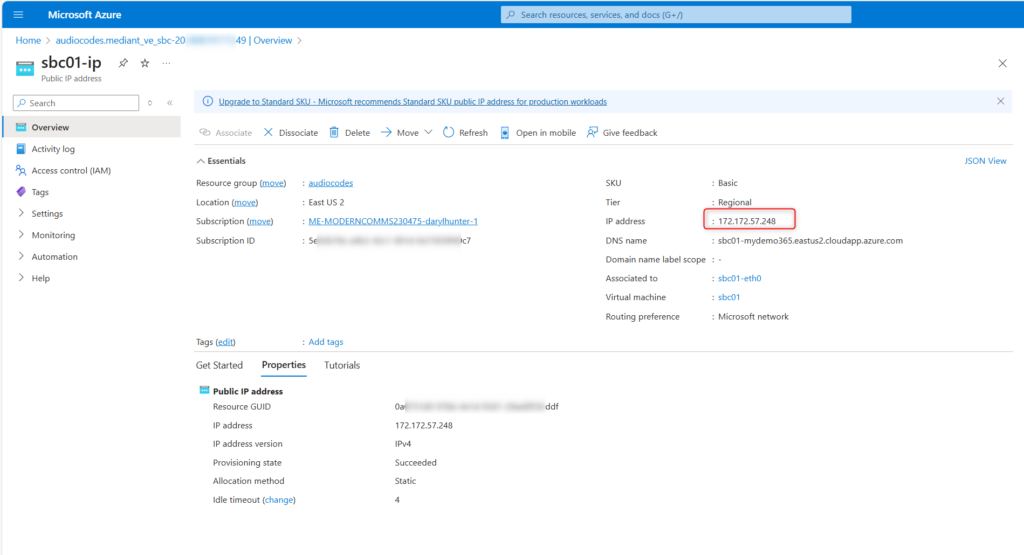
I want to validate I can login my SBC. But how can I do that? I need to know the Public IP that was created for my SBC. I simply click on the “Public IP address” detail above and I can see that!
Alright, let’s navigate to either that IP or that FQDN I created associated with my Azure deployment.
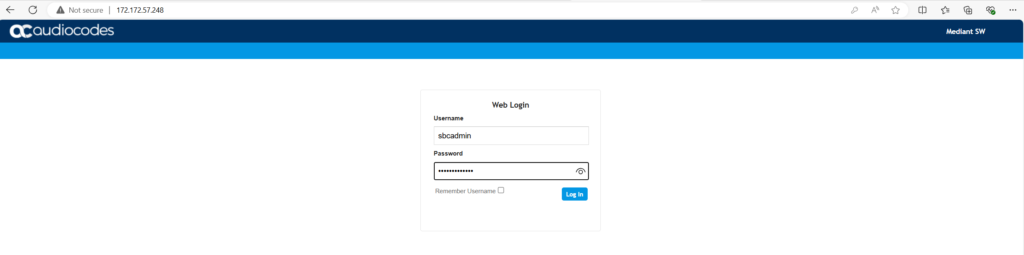
Type in the username (remember, I chose sbcadmin) and the complex password. Click Log In.
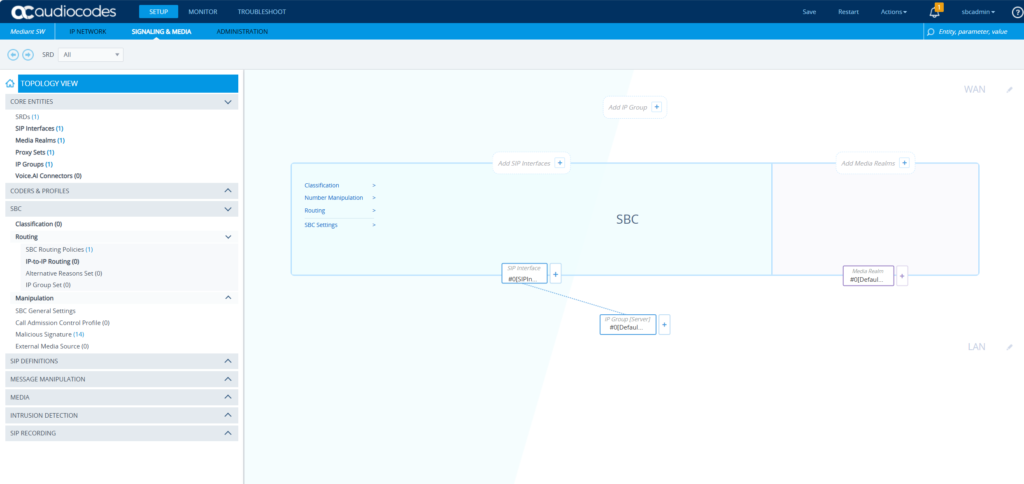
Sweet! I’m in! Baseline SBC deployed. Check! But, I should probably take time to secure this a bit.
Session Border Controller SSL Certificates
We’ll wrap up this post today with a simple configuration with AudioCodes SBC + SSL certificates. You’ll need this to ensure that Teams and the SBC encrypt the traffic between them. This is also helpful for secure admin usage via https vs. http. Navigate to the SBC -> Setup -> IP Network -> Security -> TLS Contexts.
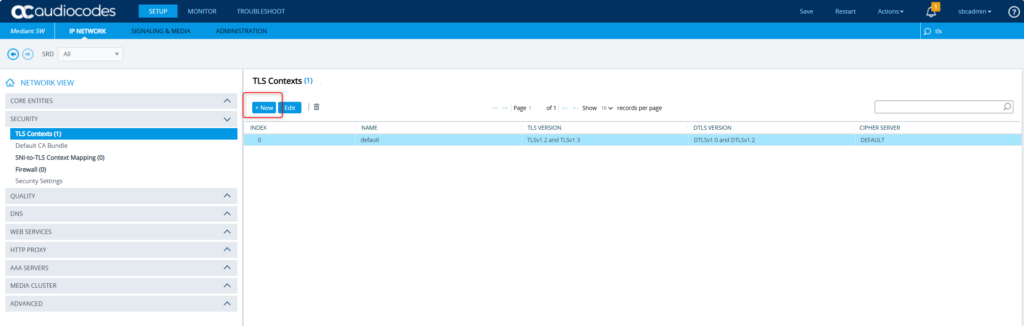
Let’s create a new one specifically for Teams. Click New.
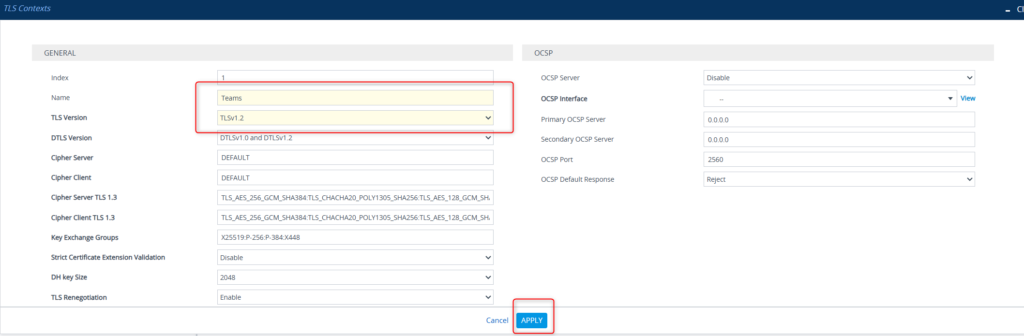
I chose Teams as the name (clever, huh?) and TLS v1.2. Click Apply.
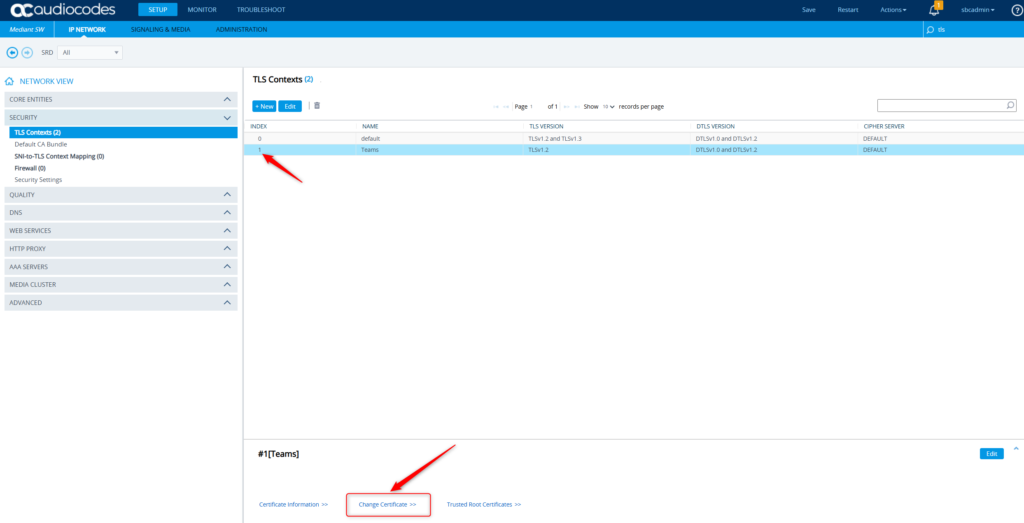
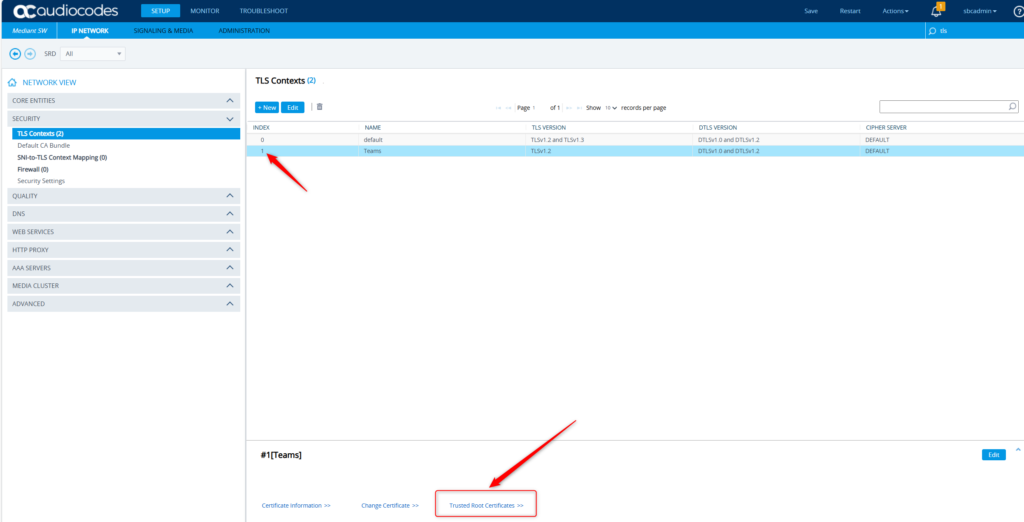
Now we see the two TLS contexts – both the default, and then the one for Teams. Highlight Teams and click Change Certificate.
First, generate your private key by clicking that button.

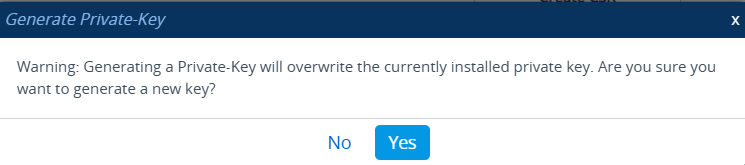
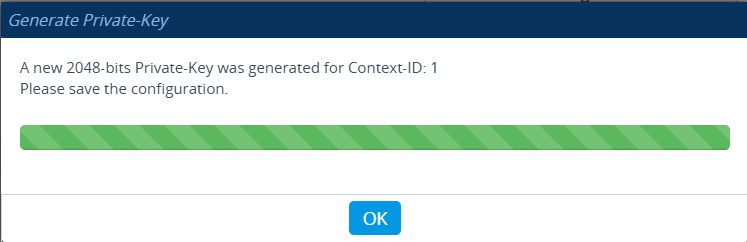
Save that config.

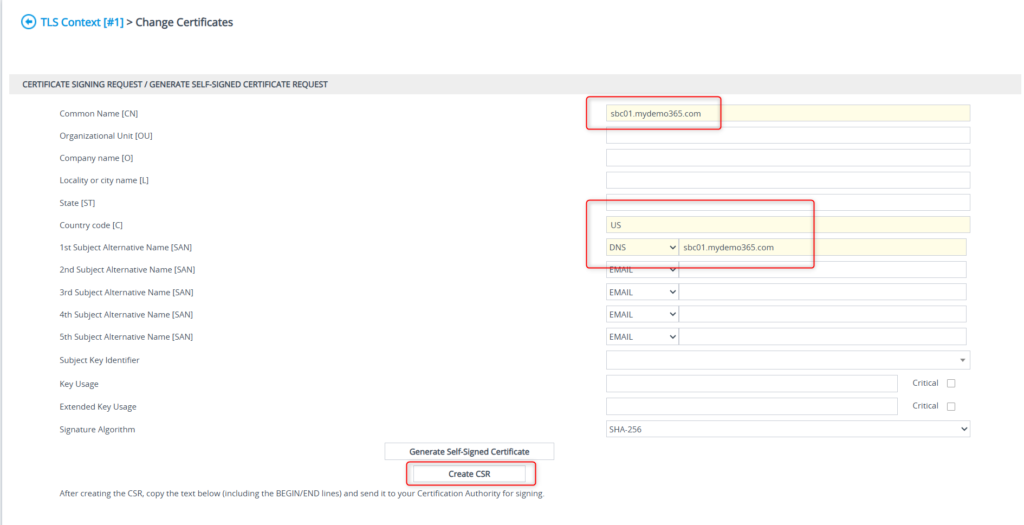
Now let’s create our CSR by filling out the basic info needed and clicking the Create CSR button.
Great! Now you have a CSR. You’ll want to copy/paste all of that from the first – in the “BEGIN” line to the last – in the “END” line.
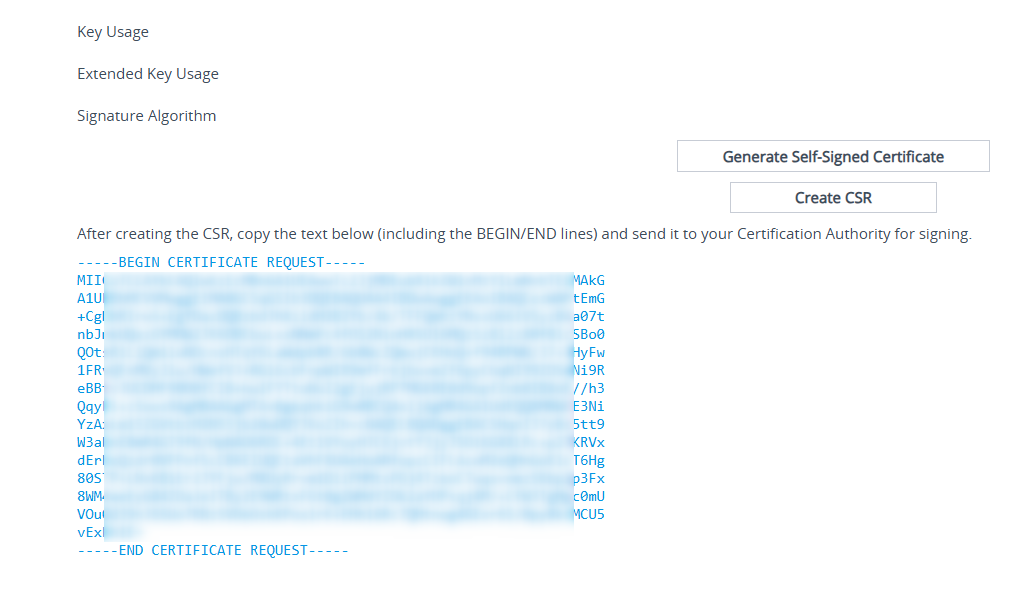
You’ll probably want to save that to a text file on your local hard drive and then use that to go get your public certificate from your favorite CA authority. I personally used Digicert. Once you get your new certificate, be sure you have the .PEM format and then come back.
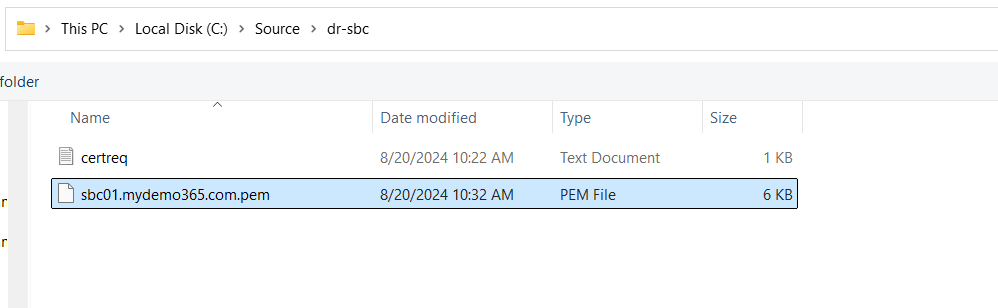
Right. Above you can see my CSR file and also my issued certificate!
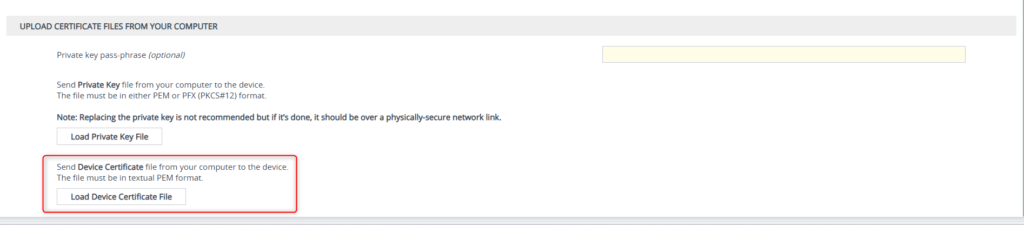
Still on the same page where you created your private key and CSR, you’ll want to upload and load your new certificate PEM file
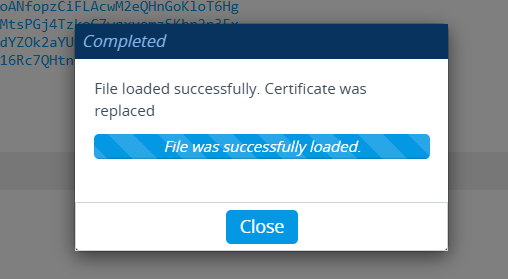
Let’s take time to verify the certificate was loaded properly


Yup. That looks good. Let’s make sure the Root/Intermediates were uploaded properly.

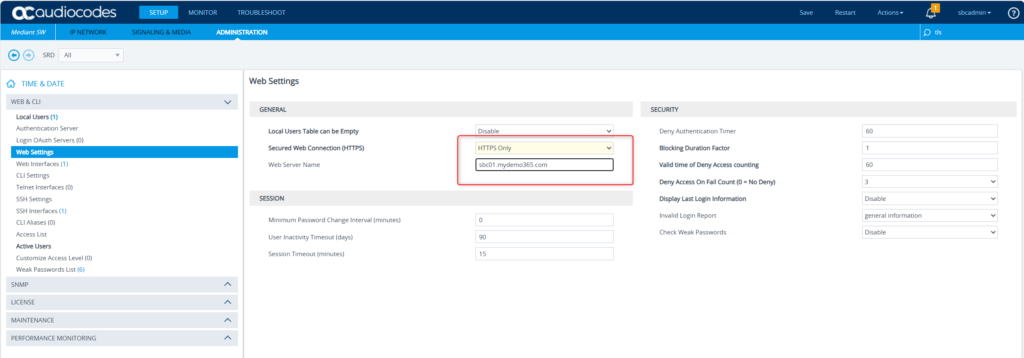
Yup that looks good too! Now to the final settings for this post. Let’s get the WebUI/UX setup to use this certificate for secured administration of this SBC. Navigate to Setup -> Administration -> Web & CLI -> Web Settings. We want to make sure we’re using https only and for good measure, change the web server name to match our FQDN – sbc01.mydemo365.com. Save.
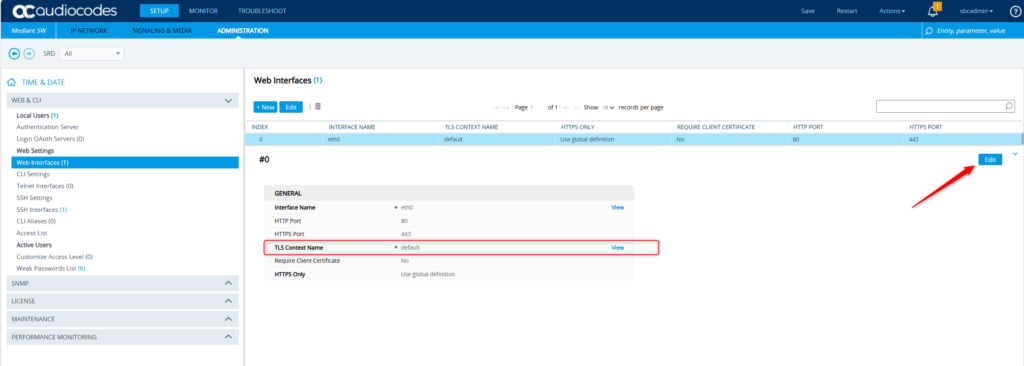
One page down on the left – under Web Interfaces – we want to make sure we’re using the TLS Context #1 which has the certificate we want. Notice it’s set to “default” here. Click Edit.
Change that to TLS Context #1 – Teams. Click Apply.
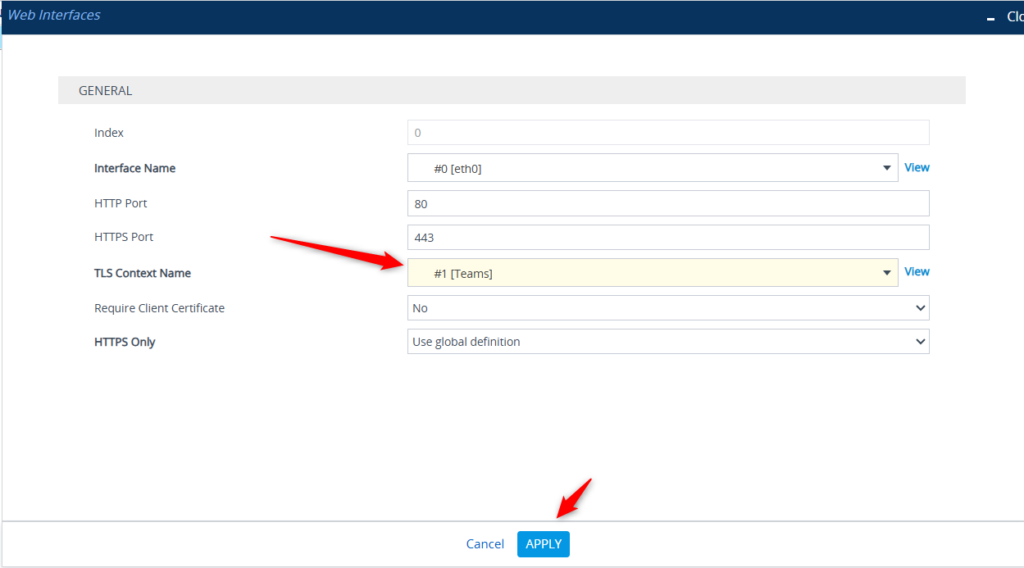
Save that config!

Close your browser tab and open a new tab.
Be sure you have a DNS Entry for your FQDN to match the Public IP of the SBC. In my case, if you scroll to the details from the Azure deployment of the SBC, the Public IP was 172.172.57.248. That’s the IP I connected to in order to make all of our settings/changes today!

Now I need to create a DNS A record for sbc01.mydemo365.com pointing to 172.172.57.248. I will do this on my DNS Provider – www.dnsmadeeasy.com – now owned by Digicert.
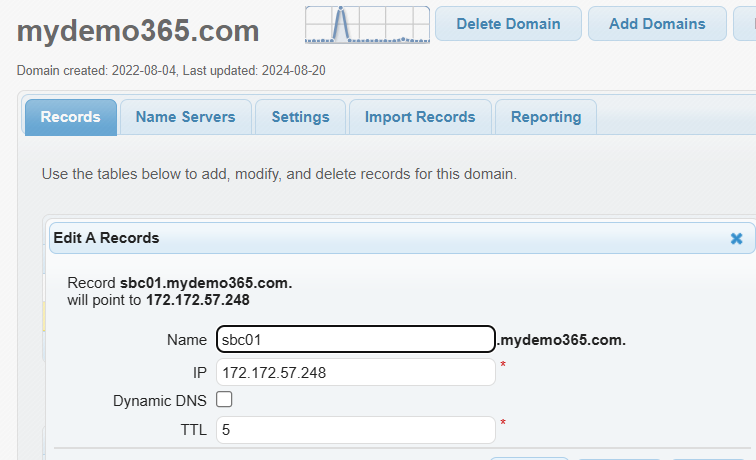
You’ll need to do the same with your Public IP and your specific FQDN. Do that and come back.
Back? Good. Let’s navigate to the SBC FQDN – again mine is https://sbc01.mydemo365.com

Sweet – that certificate looks good! Click on the padlock.
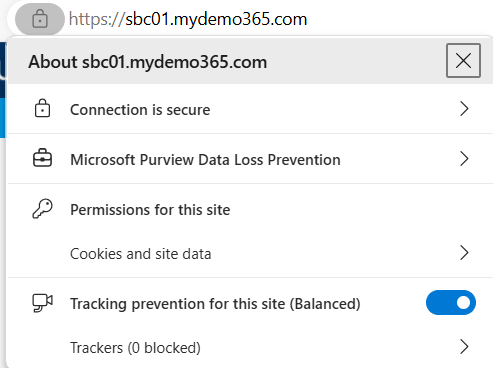
Let’s just for fun click on Connection is secure -> and then the certificate details
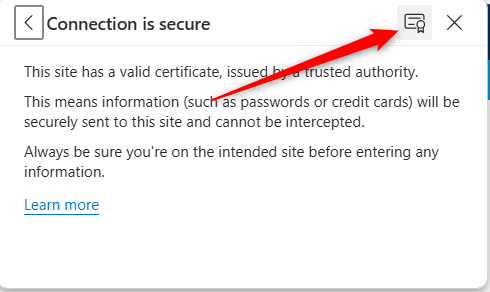
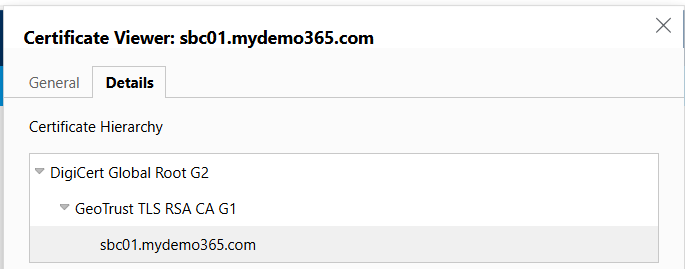
Nice. All secure. Right certificates. Right intermediates/root. Let’s stop this post for now.
Coffee Break
We have successfully deployed an AudioCodes SBC (Virtual Edition) from the Azure Marketplace. We then created an appropriate Teams TLS/Security context, generated a public certificate, and applied that to the SBC. Additionally, we configured the WebUI/UX to use that same certificate for secure administration to the SBC. That feels good enough for today. Let’s come back next time in Part 2 to do more configuration and testing.
2 thoughts on “My Demo 365: Teams Phone Direct Routing – AudioCodes SBC Virtual Edition”
Comments are closed.