Hello there! If you frequently stumble on my blog, you already know this. If you are new – I really like Solarwinds. I use many of their products, and have for years starting with their TFTP Server and Subnet calculator migrating through the Engineer's Toolset and Orion and random other modules. I've blogged a few times about my experience:
- Engineer's Toolset v10 (a few parts)
- Solarwinds IPAT – IP Address Tracker
- Solarwinds Orion APM + Exchange 2007
- Painless NPM + APM Upgrades
If you are a network guy, or know one, chances are you (or they) keep track of IP addresses either a) in their head, b) in various spreadsheets, c) on random scraps of paper strewn about the office, or d) maybe in an actual IP Address Management program. I hope D. But, if A,B or C apply – stop it. Stop it right now.
Today I'd like to introduce you to Orion IPAM – IP Address Manager.
Orion IPAM – Installation
Yeah yeah, I know. You're sick of my install screen shots. Get over it :) Grab the installation files from your Solarwinds Customer Portal. Launch install.
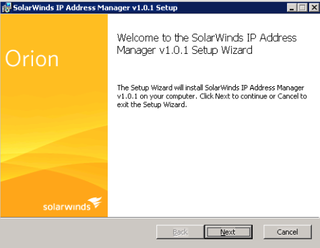
Great. Next.
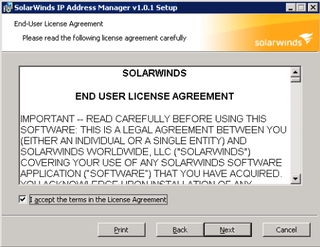
Accept the EULA. Next.
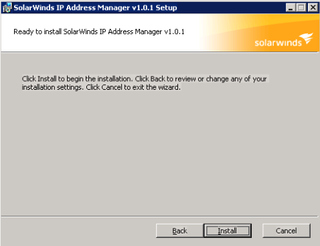
Install already!
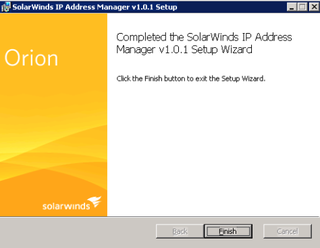
All done. Click Finish. Setup will automatically install the Licensing wizard for you.
We want to "Enter Licensing Information." As an aside, I've been using this product unregistered for about a week – that's why this says "23 days" here.
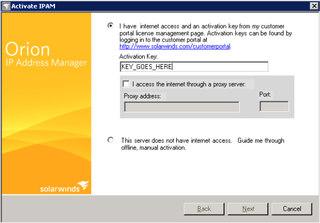
Enter your IPAM Activation Key (from the Customer Portal). Click Next.
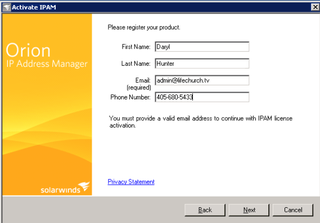
Enter your Licensing Information. Click Next.
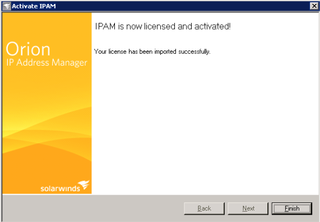
Hooray! All activated. Click Finish. Setup will now auto-launch the Orion Configuration Wizard for you to finish up.
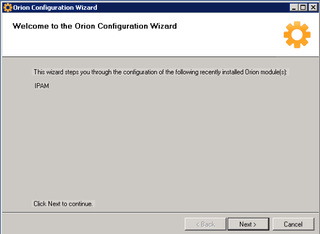
Yes, IPAM is what we're working on. Next.
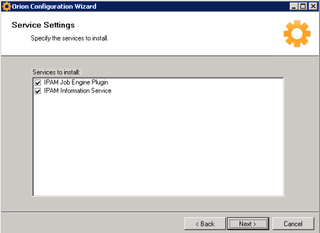
Yup. Need the new services. Next.
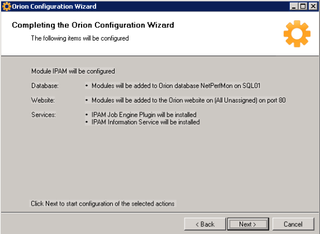
Verify what's gonna happen. Database, Website, Services. Great. Next.
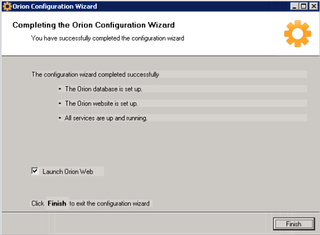
All done. Finish. This entire process took just under 7 minutes.
Now, DO Something With IPAM Already
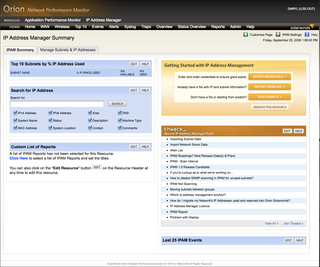
Okay. Now that IPAM is installed, let's do something fun. Launch your Orion console, and bring up the IPAM Module.
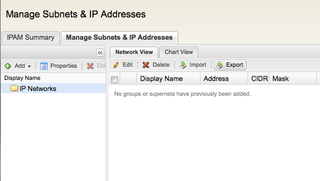
Click on the Manage Subnets & IP Addresses Tab
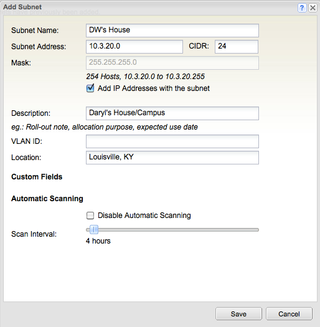
Click Add.. and choose "Subnet" – we're gonna add my house/campus.
10.3.20.0/24 is the IP Subnet I use at my house. I'm IPSec/VPN'd to the Central Campus via a Cisco 871W router. I've put lots of info on there. Note that IPAM will auto-scan that subnet for you and re-populate the tables with dynamic changes. I have it set to scan every 4 hours. Click Save. Wait a few minutes for the Subnet to be scanned. Now, let's look at some results.
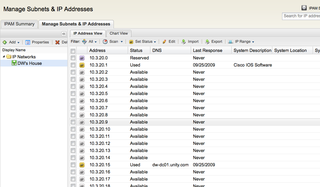
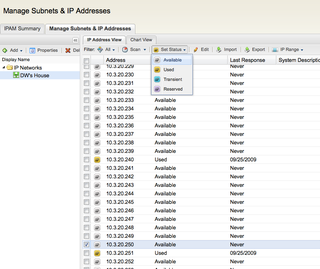
You can see IPAM has detailed the IP Addresses that are reserved, Used and Available.
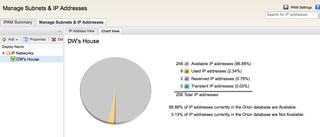
You can see some details in "Chart" form too.
But, Can I Manually Edit IP Information?
Sure. Let's go to IP 10.3.20.250. We want to reserve this for my printer.
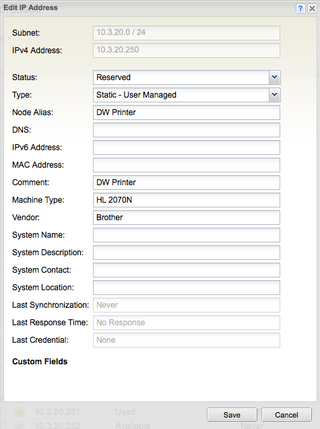
So, I've highlighted 10.3.20.250, and selected it with the checkmark. I can immediately adjust the status to "Reserved" using the "Set Status" option in the graphic above. Or, if I want to enter more information other than just "status" – I can click the "Edit" button instead.
You can see I've "Reserved" this IP – and set some information about it.
Anyway, those are just some "nuts and bolts" of IPAM. I hope you found the information useful. There are several IPAM/IPAT programs out there – but Solarwinds Orion IPAM made the most sense for us at LifeChurch.tv since we're already heavily invested in Orion NPM and APM for monitoring our network performance and application performance.
What are some tools you are using to manage IP Addresses?
