So, just days after installing and activating our Solarwinds IPAM v1.0.1 module, the newest update comes out. This is good albeit slightly frustrating because it came out at a time I couldn't get to it for a week! 🙂
For those of you that missed the press release – IPAM v1.5 was released last Tuesday. Besides the general bugfixes that you'd expect, IPAM v1.5 came with a neat new featureset – DHCP Scope notification. I'll do my best to explain it. Have you ever started troubleshooting why a computer wouldn't get IP, only later to realize your DHCP scope was full? DHCP Scope notification combined with IPAM not only gives you details re: your various subnets, but will notify you if your DHCP scope hits a high threshhold so you can act proactively. Yes, those are the basics. Proactive monitoring/management of your DHCP Scopes.
Let's upgrade. We'll first have to upgrade to Solarwinds Orion v9.5 SP5 – and then we'll upgrade IPAM to v1.5
Solarwinds Orion v9.5 SP5 Upgrade
These upgrades are so painless. Next next next. Let's download the update from your customer portal, and start the upgrade process.
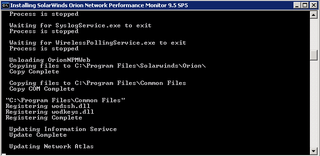
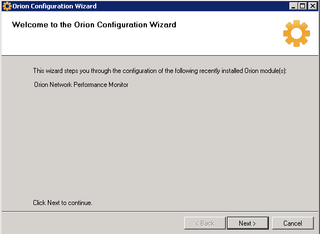
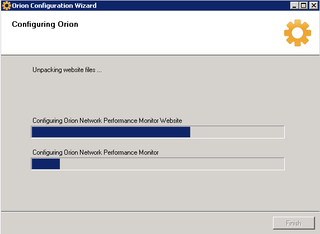
The DOS-like window will appear and do some magic. Then, the Orion Configuration Wizard will launch automatically to finish the SP5 upgrade.
Yup. NPM. Click Next.
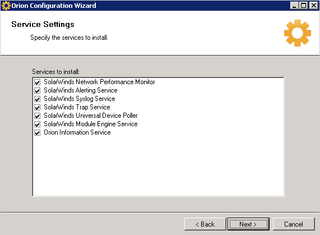
Yes, please. Next.
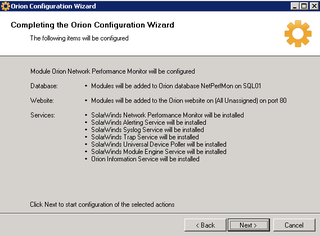
Verify. Click Next. Now, the install actually happens here.
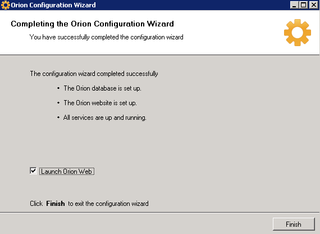
Done. Click Finish.
Sho' Nuff. That's v9.5 SP5. Now, let's continue…
Upgrading to IPAM v1.5
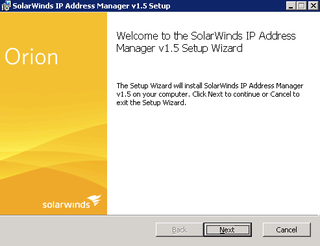
Again, grab the update from your Solarwinds Customer Portal. Start the install.
Great. Next.
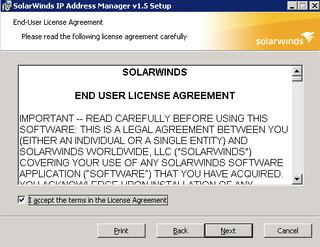
Accept the EULA. Next.
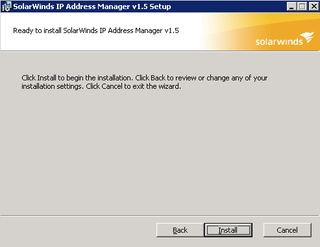
Great. Install.
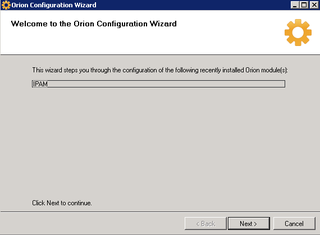
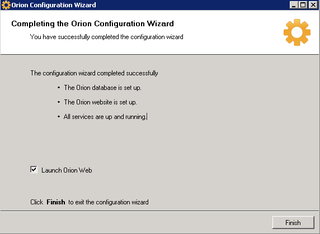
Done. Finish. The Orion Configuration Wizard will auto-launch to continue setup.
Yup. IPAM. Next.
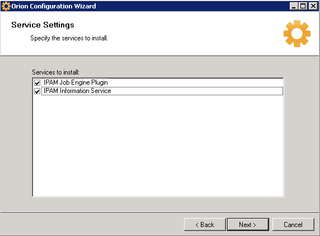
Great. That's what I want. Next.
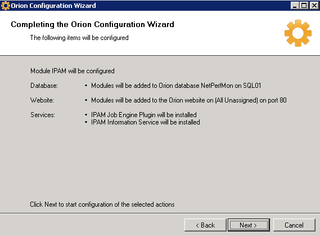
Verify the config. Next. Wait.
All done. From start to finish – both Orion SP5 and IPAM 1.5 – total install time was approximately 17 minutes.
But that's not exciting. Let's actually do something fun.
Tying Orion IPAM into DHCP Scopes
This is the whole point, right? How does this work? Let's start by launching Orion and bringing up your IP Address Manager module.
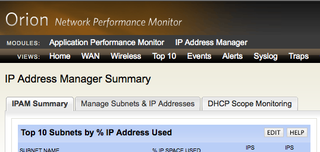
Notice you have a new tab now – DHCP Scope Monitoring. Click on that.
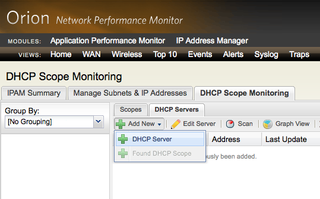
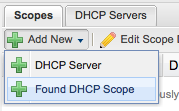
Great. Let's add a DHCP Server. Choose the DHCP Servers tab and add a new server.
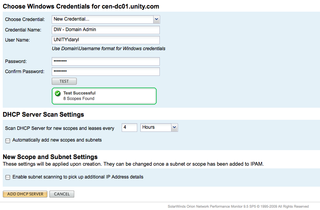
We'll choose our Central Domain Controller CEN-DC01 – it's the DHCP Server for about 8 of our DHCP scopes at our Central Offices in Edmond, Oklahoma.
We'll also use Active Directory credentials and make sure it all works. Click Add DHCP Server.
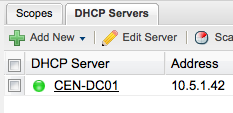
Great. There it is. Click on the "Scopes" Tab.
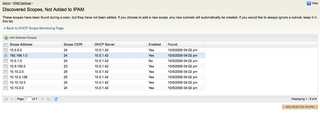
We're going to add a "Found DHCP Scope" from the DHCP Server we just added.
Let's choose the 192.168.1.0/24 scope. This one is the "wired data" subnet for the Central Offices. It's old school :) Click Add Selected Scopes.
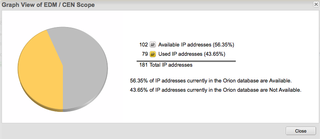
Great. That scope is added and scanned. Looks like we're using 79 addresses with 102 available. That's almost 44% usage. Not bad. By default, I will be notified when the DHCP Scope hits 75% usage.
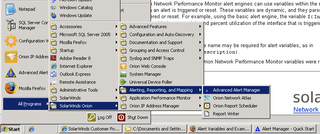
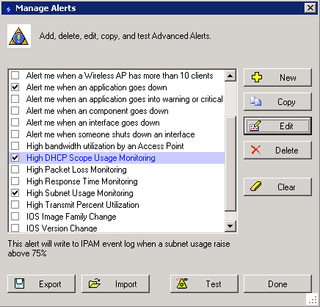
If I wanted to adjust that, I'd launch the Advanced Alert Manager on the Orion server.
That's Start -> All Programs -> Solarwinds Orion -> Alerting, Reporting, and Mapping – Advanced Alert Manager…
Anyway. That's that.
I think it's a great new feature-add for Solarwinds Orion IPAM.
How do you currently monitor your subnet/DHCP usage?
