Hello! I've blogged before about how we utilize Cisco CallManager for our voice setup. One of my latest projects has been installing "real" (non self-signed) SSL certs so we can publish some URLs for our users. We want to allow them to modify some settings on their phones, but don't want to have to deal with the self-signed SSL issues – and associated questions and "fixes" to various browsers.
Let's start by generating a CSR so we can get our cert.
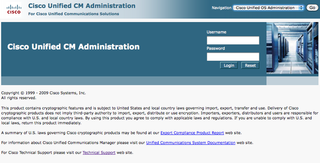
Head to your CUCM cluster – in your browser of choice. Navigate to the OS Administration function and login as an Admin on your system.
Great. Now, open Security -> Certificate Management.
Click on Generate CSR like you see below.
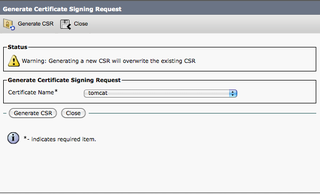
A new window will pop up
Make sure you choose "tomcat" (the web engine running the mojo behind the scenes) and click Generate CSR. Magic happens.
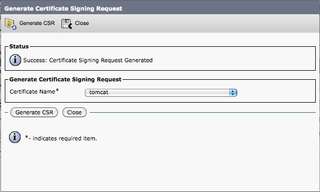
Yup. Success. Click Close.
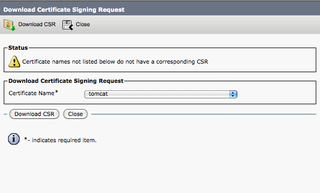
Notice a new option – Download CSR. Click that.
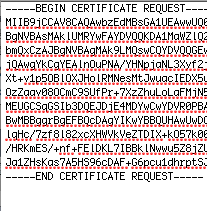
Now – click Download CSR. It will look something like this.
Now – go get your cert. I choose to use RapidSSLOnline (not RapidSSL) – and it's a great cert for $18 a year. Come back when you have your .cer file.
Welcome back. Now, you need to upload your .cer file. But, you FIRST need a "root" certificate. I haven't needed this before with Exchange or other tools using RapidSSLOnline certs, but, apparently Cisco requires you to upload a Root (trusted cert) before you can add the SSL cert we need to actually accomplish our goal. No matter. Let's gidderdun.
For RapidSSLOnline – you can get the signed root certificate here.
Now, head back to the CUCM -> Security -> Certificate Management function.
Click Upload Certificate
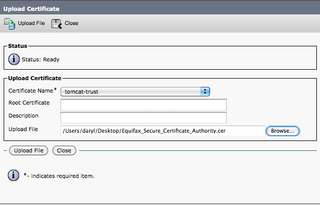
We're uploading the "root" here – so – choose "tomcat-trust" here. Then, upload the downloaded .cer you got from above. Click Upload File.
Hooray! That was easy, huh?
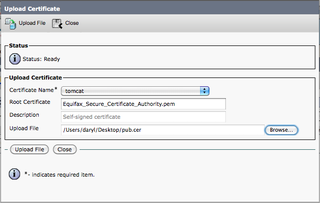
Now, go grab the real .cer you got (the non-root) from RapidSSLOnline. We're going to upload that too.
Here's where it gets a little tricky…
Notice that we chose "tomcat" above – but we had to enter the proper "root" here – that's the .pem file you see above. Then Upload the .cer file. Click Upload File.
Next – you need to restart the appropriate services using the "admin" user inside the SSH console.
The command you want is: utils service restart Tomcat Cisco
That's it. Off you go. Nothing more to see here.
For reference: this cisco article is a great place to grab info to help along the way



Thanks a lot for sharing this information. I have one question. Does this process works for all the non self-signed certificates? I got a True BusinessID EV from rapidsslonline.com. Should i go with the same process mentioned above? Do i need to follow the instructions given in manual?. Thanks.