Welcome back to the Mirazon Lync 2010 Walkthrough.
In Part 1 of this series, we discussed some of the "why" of the project and prepped the Schema, Forest and Domain.
This time, we'll walk through the Topology Builder for our environment, and some other odds & ends to take care of before the actual install. Let's get started.
The Topology Builder needs to be installed before you can deploy a Lync Server. The Topology Builder is where you define sites & servers in the setup. The basic premise/purpose looks like this:
- You define a topology – which creates an XML file
- The Topology Builder validates everything is good
- You publish your topology into the CMS – Central Management Store
- You then "Install Lync" based on the topology you've just published
WARNING – this is going to be a very long post with lots of screen grabs
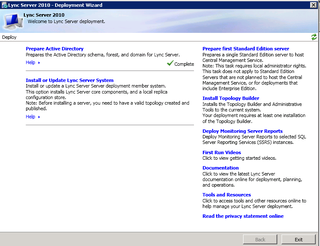
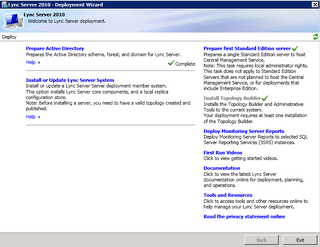
You should be on your Lync server and have the Deployment Wizard up:
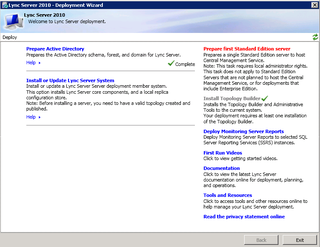
Click "Install Topology Builder" and the magic happens. It installs the Topology Builder program and your Administration Toolset.
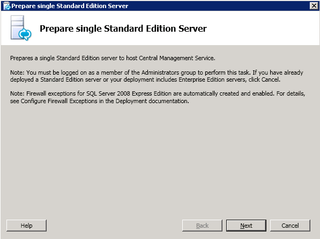
Green Check. Great. Now, Click Prepare first Standard edition server.
This gets your server ready to host the Central Management Service – this is where the Topology we build later will be stored. There is one CMS per Lync 2010 infrastructure. In our environment, this is stored on our consolidated Front End box – TMGLNC01. Click Next.
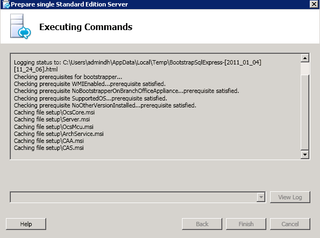
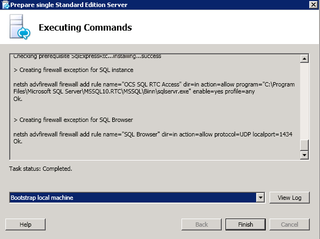
The magic happens. This installs SQL 2008 Express, and preps everything necessary.
You're done. Notice that this installer takes time to handle any firewall exceptions needed. Click Finish.
Great. Everything looks good. Now, let's jump in and create our Lync 2010 Topology.
Or not. One thing you'll need is a "fileshare" for all of the useful shared resources – whiteboards, app sharing, temporary files, etc. etc. – get that done FIRST (before Topology)
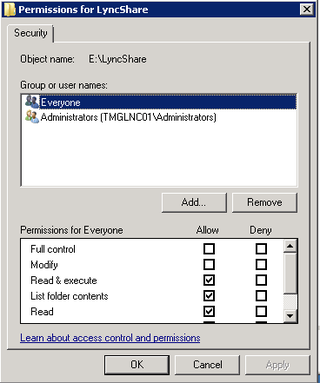
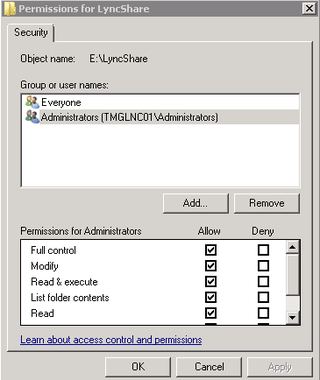
For us, we created a simple file folder – lyncshare – on our E: drive. We need to adjust the permissions appropriately.
Everyone gets Read/Execute…
Administrators get full control…
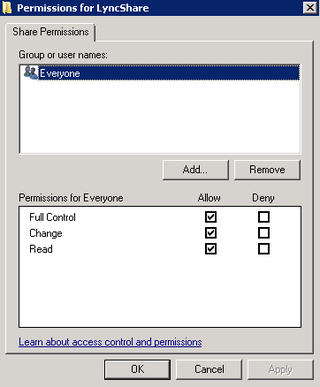
Your "share" permissions are full control for Everyone…
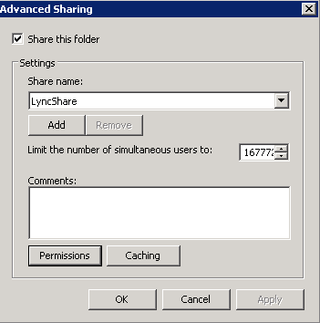
All shared…
Okay, really, now we're ready to launch the Lync Topology Builder from your Start Menu
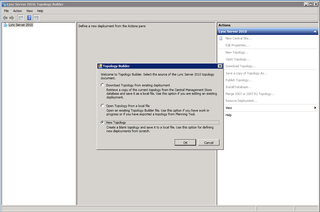
We're creating a New topology. Click OK.
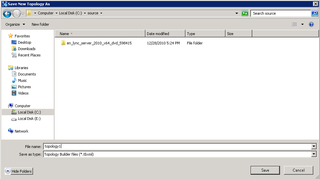
Your topology is saved as an XML file – we store useful things in a C:source folder – so – let's put this there… Click Save.
Choose your primary SIP domain – for us, that's our internal AD – mirazon.local – Click Next
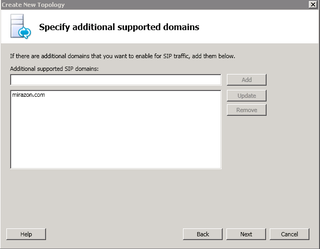
This is where we choose our Public (useful) Domain – mirazon.ccom – Click Next
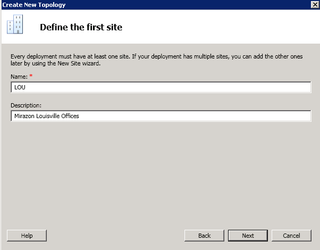
Let's identify our Site – Click Next
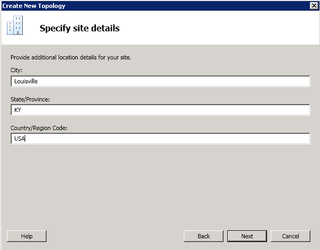
Keep going – Click Next
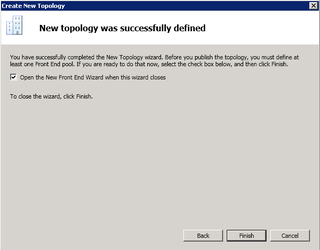
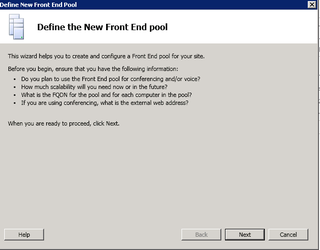
Great – Click you've defined your topology – now click Finish and let's start creating our Front End pool for SIP Clients/Users
Let's get started – Click Next
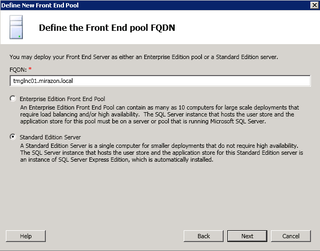
We're doing a consolidated Standard Edition Server and the FQDN is the full AD name of this computer – tmglnc01.mirazon.local – Click Next
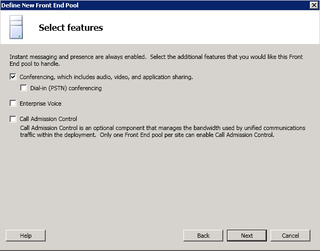
We're just doing basic IM / Client functionality right now – Click Next
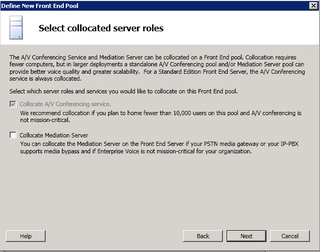
Yup, collocating our AV role – Click Next
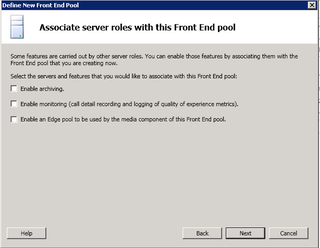
No extra features – Click Next
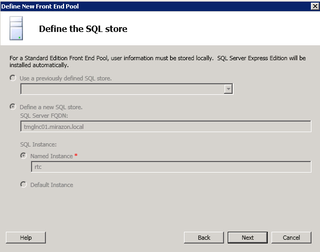
This finds the SQL Express instance that was installed just a few minutes ago – Click Next
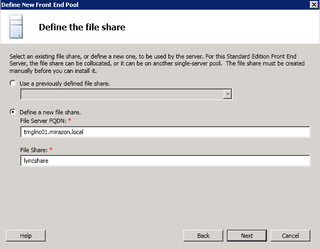
Remember that file share we just created? Put that info here – Click Next
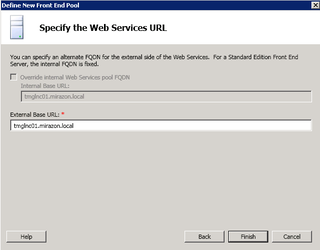
Remember, this is just a simple Consolidated FE server right now. I kept the same internal FQDN as the external acces (spoiler: we change this in a future blog entry)
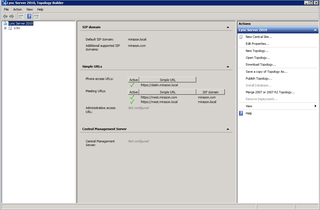
And here we are. Time to do a few more simple changes. Click Edit Properties in the top right-hand side.
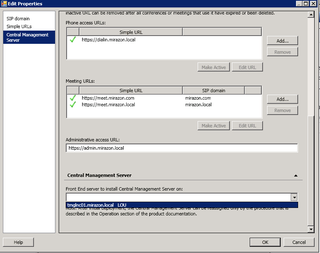
Choose your Central Management Server – this is the FE box if you recall. Click OK.
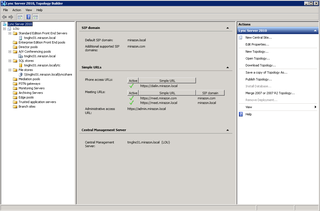
Yup – looks good so far! Let's Publish the Topology (right hand side)
vLet's go, click Next.
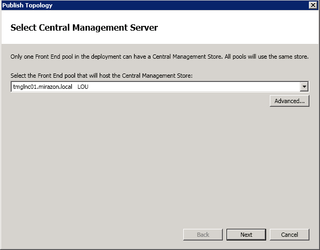
Verify your CMS location. Click Next.
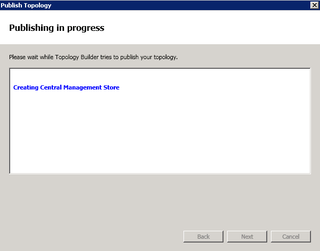
CMS Prep for Topology…
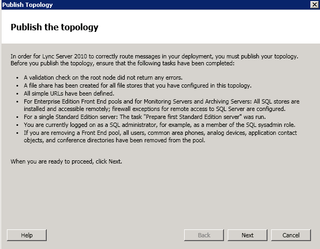
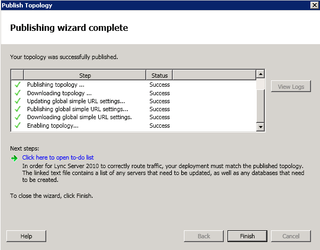
Looks good! Let's look at the to-do list before we click Finish.
Alright, there are the last few little things to finish up with … Next time…
Whew – you made it! We've prepped the domain, prepped for the Topology, created the topology, and published it to the Lync Central Management Store (CMS) – we're ALMOST ready to install Lync (ha ha – really) – but first in Part 3 we'll make sure we have good Enterprise CA / PKI setup.
See you soon…

Awesome post! Thanks a lot 🙂