Hello Again!
Today we'll continue the Mirazon Lync 2010 Walkthrough.
In Part 1 – We discussed our Lync Project goals, and prepped the domain, etc.
In Part 2 – We discussed a few Server/Infrastructure prep needs and the Lync Topology Builder
Today, we'll dive into Enterprise CA / PKI. To fully integrate Lync into your environment, especially when integrating with Exchange 2010 for UM, you need a functional PKI Ecosystem.
The Mirazon infrastructure already exists, so, I built out a test-lab environment for this walkthrough. Let's get started.
Assumptions
We'll assume we're going to build a single-function, domain-joined machine – CERTSERV – to be our Root CA. A simple 40gig C: drive, Server 2008 R2 machine will be great. We'll also assume that one or more Subordinate CAs will exist in your environment. These can be multi-function machines, and Domain Controllers might be a good choice for you.
Enterprise Root CA
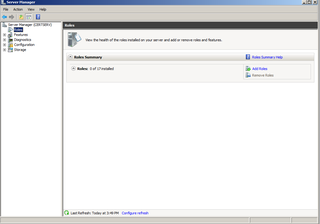
Bring up Server Manager on your CERTSERV machine
You want to Add Roles
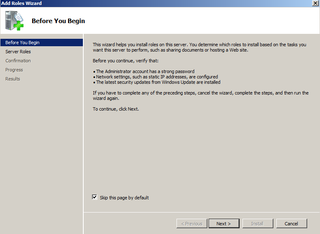
Click Next
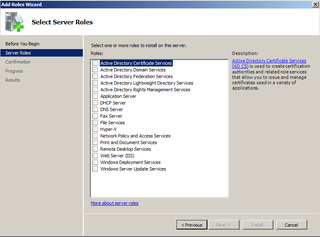
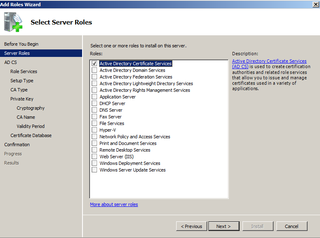
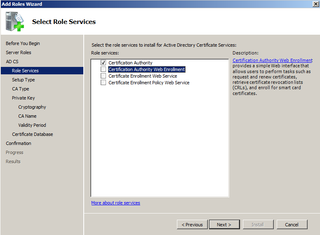
We are adding Certificate Authority
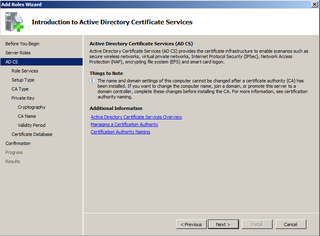
Yup, just like that. Click Next.
Click Next
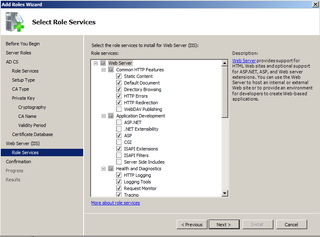
We want to add Web Enrollment. Click that box.
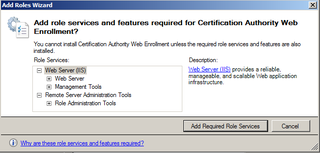
Web Enrollment needs IIS. Click Add Required Role Services.
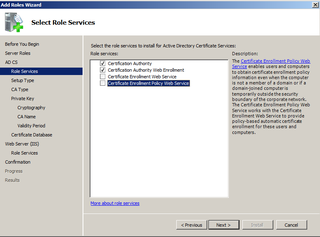
Looks good, click Next.
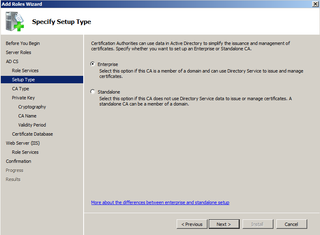
We are adding Enterprise CA, Click Next.
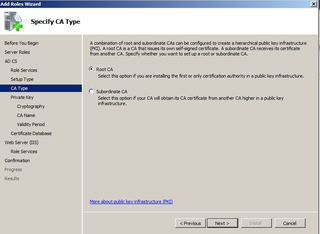
Yes. We're adding the Root. Click Next.
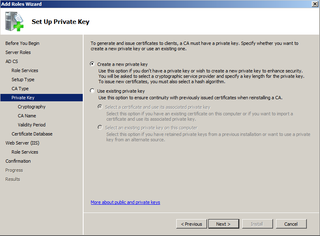
We need a new Private Key. Click Next.
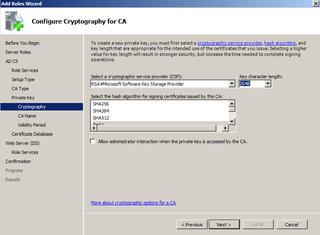
Length of 2048 s fine. Click Next.
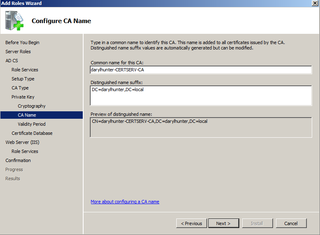
This names your CN for the CA based on the Domain Name & Computer Name. Click Next.
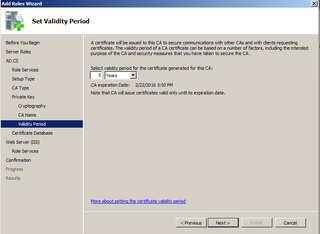
Select your validity period for the CA – 5 years is Default. Click Next.
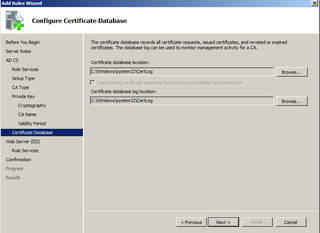
Verify installation location. Click Next.
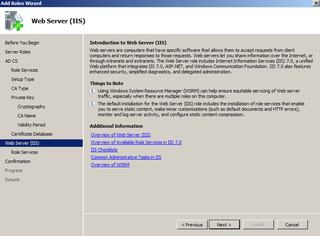
You can now customize IIS if you need. Click Next.
Make adjustments (optional). Click Next.
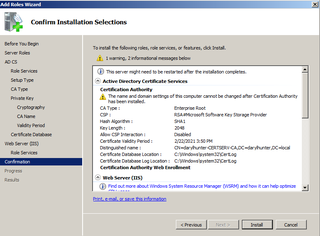
Confirm your choices. Click Install.
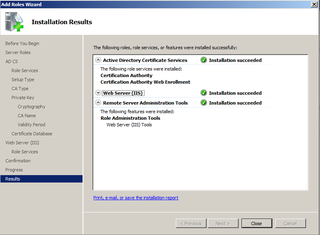
Hooray! Root CA is done. Click Close.
Let's build a Subordinate CA
Remember, your Root CA is a single-use machine only. Those CA/PKI experts will tell you to fully protect your Root. All you do with the Root CA is authorize Subordinate CAs. You actually issue your certs from a Subordinate CA. So, let's do that.
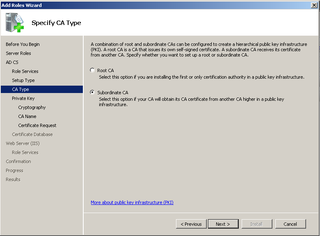
We're going to use DC01 – Our Domain Controller – as our Subordinate CA. Open Server Manager, Add the Certificate Authority Role, etc. Everything is the same up until you get to the CA Type Screen
Choose Subordinate CA here. Click Next.
Create your new Private Key, 2048 length is fine, and your CN will be built.
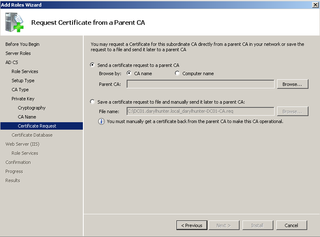
This is where we actually get permission to be a Subordinate CA from the Root CA we just built. We're going to send the request "live" – click Browse.
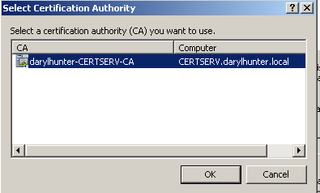
It finds CERTSERV – Click OK.
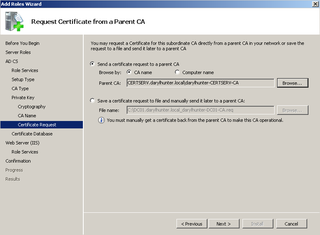
All the options are filled in. Click Next.
Continue through the process just like the Root CA – customizing IIS if needed.
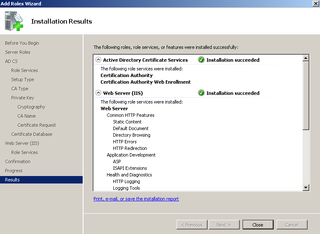
Great. You're done. Click Close.
Verify it worked
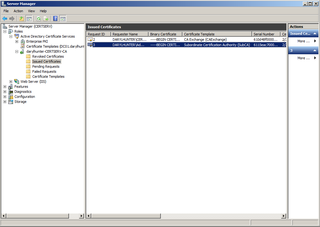
Now, let's go to the Root CA and look at the Issued Certificates
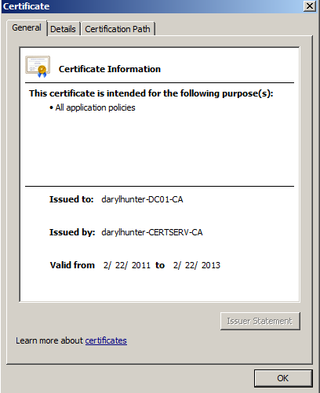
See the Subordinate CA there?
Looks good!
Anyway, I thought it was important to briefly (ha!) build our CA. Lync needs certificates – and we need a local CA for all the Mutual TLS stuff between servers. So, now you know how to build one if you don't already have it!
Stay tuned… UPDATE: Part 4 is now up…
Amazing job! This is the best guide I have been able to find and I have been researching Lync 2010 ALOT!!Can’t wait for the next part in the series 🙂
Once the subordinate CA is set up, how do I grant the cert needed by Lync?
@David — I haven’t blogged that yet because I’m lazy, or busy, or something 🙂 You get the cert via the installer / setup wizard… it’s coming…
i read and follow up with your method on lync server but after requesting and assigning the certificate i do constantly receive the error on the process of completing assigning of the certificate “HTTPS binding not found on the web site”
I have tried on several occasion with the same error. Plz help ….. urgently
Hey steve, I’m not sure I understand… can you post a screenshot of what you’re talking about? You said you’ve gotten this error several times, but I’m unsure exactly what steps you are following, etc.
–DW