I've blogged before about how LifeChurch.tv uses Websense for filtering / logging our Internet traffic at our central location. At our remote locations, we've used IPCop + Dansguardian. It's worked okay.
Recently, we performed the upgrade to Websense v7.1 and that re-opened my thoughts to pushing Websense out to all our remote sites and killing our IPCop usage. The idea of a centralized / controlled policy and centralized logging / reporting is attractive. We don't really monitor/report much except porn – and that's VERY RARE – more than anything we like to look at stats like daily usage, top # users, top # visited websites, etc . For instance, here's what our Internet traffic has looked like for the last month.
Anyway, after some research, and a ticket to Websense support, it turns out our licensing will support basically unlimited installs of Websense as long as we don't go over the # of licensed end-users concurrently. Which is GREAT for us and will meet our goal. Let's walk through it.
Installation of Websense – Remote Campuses
The installation of Websense is pretty straightforward – in that – I am creating "remote" installs all pointing to centralized policy servers / logging servers. I only install a "subset" of things remotely, and then watch it all sync up. I already have a Domain Controller at all locations – so – I'm good to install this on that box. No problemo! So, let's start the Websense 7.1 install.
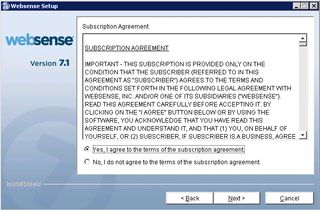
Click Next.
Accept the EULA. Click Next.
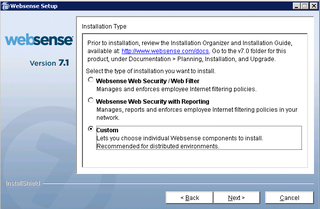
Custom install – click Next.
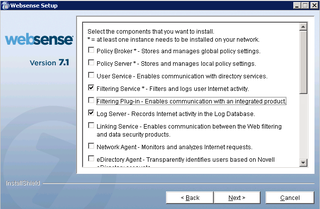
We only need/want the Filtering Service & Log Server options here. Click Next.
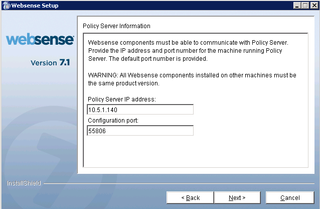
This is where I put the IP of the "central" Websense install. Click Next.
This is where I choose the right "local" IP address. Click Next.
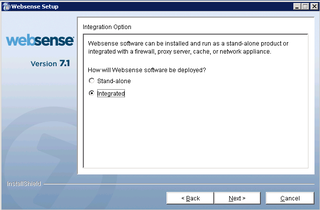
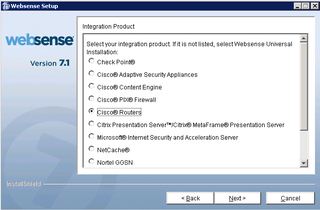
I'm Integrating this with our Cisco Routers. Click Next.
At our Central location, we use Cisco ASA. At our remote sites we'll use Cisco Routers. Click Next.
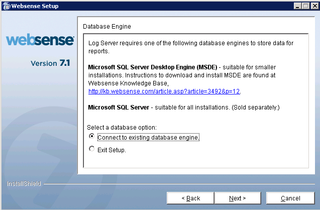
Yup – all the logging is already handled centrally. Click Next.
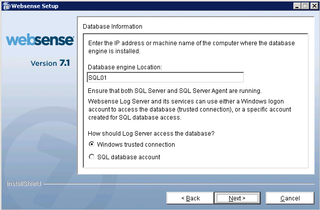
SQL01 is the logging server name, and we use Mixed authentication. Click Next.
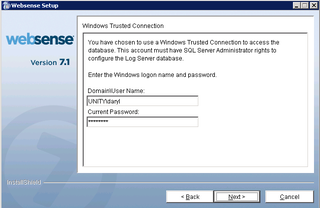
Use credentials that have proper permissions on the logging database. Click Next.
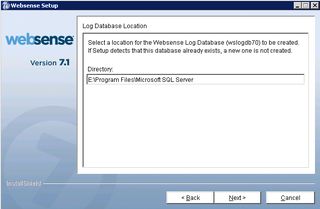
Proper database location on the logging server. Click Next.
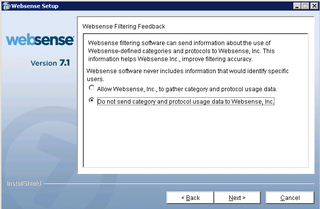
Your choice. Click Next.
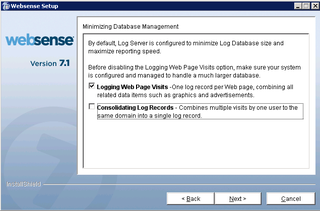
Your choice. Click Next.
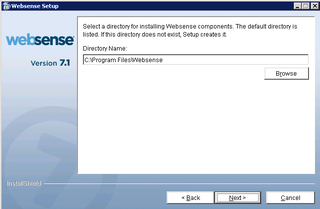
Installation location – Click Next.
Confirmation. Click Next to Install.
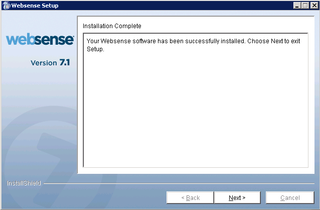
Installation done. Click Next to exit. This entire process took about 15 minutes.
Now, we wait for the central policies to download and synchronize with our newly installed "remote" server. This took a couple hours for me. Your mileage may vary.
Cisco Integration Configuration
Now that we have Websense installed – we need to tell our Cisco Router to find it so traffic is properly identified and filtered / logged. Let's dive right in – and this document – Websense KB 4468 Cisco Installation Supplement – will help.
Login the Cisco router and add the following configuration
ip urlfilter source-interface BVI1
ip urlfilter max-request 30
ip urlfilter max-resp-pak 30
ip urlfilter server vendor websense 10.3.20.15 timeout 30
!
ip inspect name fw_url http urlfilter
!
interface BVI1
<snip>
ip inspect fw_url in
Basically this tells the router to:
- Filter from the source interface BVI1
- Integrate with a Websense box on 10.3.20.15
- Sets an http packet inspection called "fw_url"
- Applies that inspection "fw_url" on the BVI1 interface (our inside interface)
That's it. Really. Install Websense. Wait for sync. Configure Router. Test. Done.
Does It Work? Can I see dirty pictures?
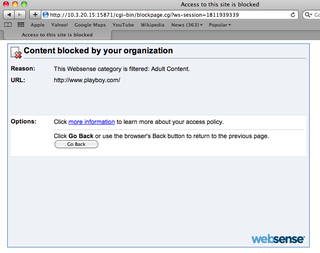
Now, let's test it – yes – for real. A very common place to go to test for porn filters is Playboy – so – let's try to go there (and yes, I was careful for those of you asking).
Hooray! Notice that our remote Websense box (10.3.20.15) is sending back the blocked message. You are done!
Anyway, that's the deal. I have this working at my house – one of our remote campuses. I have since disabled my IPCop install which was my filter. Now, let's get this done on ALL our campuses… I have lots of work to do…
Wouldn’t you want to install the Policy Server at the remote locations as well? Without it, if you shut down the main server (policy broker/policy server) it would stop filtering at all locations. It wouldn’t know what policy to apply to the user.
Brian–
I’m not sure of that. I’ve changed gigs and cannot test this. I do know that while I had my local websense “remote” install, I would from time to time do maintenance on the “main” server. And it didn’t seem to matter. I was thinking I did test playboy one time just for grins, but I honestly don’t remember.
Your mileage may vary.
–DW