Welcome back! In Part 1 of this series (which has no defined end), I discussed some of the Management features of our Nexenta SAN. Today, I thought I'd dive a little deeper and show off some of the iSCSI features and get a thinly provisioned 250TB iSCSI Volume on our Disaster Recovery, Netvault Replicator On Demand, machine.
Define Remote Initiator
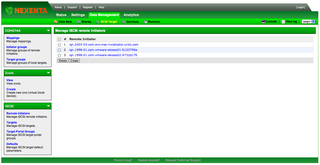
Let's start by defining, in the Nexenta NMV, the Remote Initiator for our NVReplicator machine. Bring up the NMV and navigate to the Data Management -> SCSI Target tab. The iSCSI -> Remote initiators option on the left-side is what you want.
You'll notice I already have a few remote initiators setup, including the one for NVReplicator. If you click on Create, you can see literally just how easy this is.
You put in the iSCSI name and define whether you want to use CHAP authentication. Click Create and you're done.
Define Initiator Group
So, you've got an initiator defined. Wouldn't it be handy to create a zvol (LUN) and then map that to a specific machine? That's what I use Initiator Groups for. Again, in the Data Management tab, this time choose the COMSTAR -> Initiator Groups option on the left side.
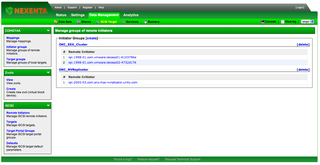
You'll notice I already have some groups here. One group is for my DR/Secondary ESX cluster that will connect to the Nexenta SAN. The other group is for this NVReplicator machine. If you click on Create, you can see how easy this part is.
Basically, you give the group a name, and then "check the box" next to the Remote Initiator(s) that you want. In this case, I've already chosen all my remote initiators. Each initiator can only be in a single group.
Here's my OKC_NVReplicator Group – and as expected – the appropriate iSCSI initiator is chosen
Let's Share Some Storage
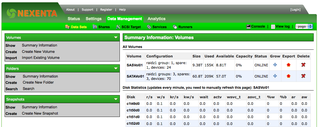
If you recall, we've currently got 70x 1TB SATA drives in a volume called SATAVol01. We've got another 24x 450GB SAS drives in a volume called SASVol01. Details below.
Having storage is great, but it's nicer to share that storage with other hosts. That's the whole point, right? Centralized storage – accessed by various hosts? Nexenta has MANY ways to share storage.
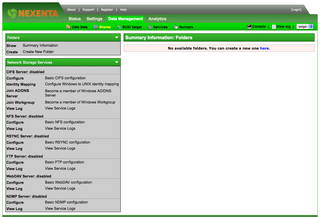
CIFS, NFS, RSync, FTP, WebDAV, NDMP – those are all supported and managed here. But, we want to present data via iSCSI – using "zvols" – let's do that. Click back on Data Management -> SCSI Target. This time you want the Zvols -> View option on the left-side.
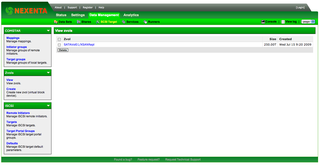
See that? There's my XSANRepl zvol. You'll notice it's 250.00T (250 terabytes) in size. How is that possible? I've only got 70x 1TB drives in this Storage Pool. Thin Provisioning my friend, that's how. There are many different definitions of "thin" storage. Some describe "thin" as not scrubbing the disks until needed. That's not what I want. I want "thin" storage – meaning – "oversubscribed" storage. Sure, there's a danger here – I could accidentally write "72TB" of data on my "70TB" of storage. Well, I couldn't really write it – it would fail and crash my SAN. So, thinly/oversubscribing storage requires an extra careful management of storage – but its' what I want. If I can RANT a minute – why would I **NOT** want oversubscribed storage? Isn't that the whole concept of virtualization anyway? Being able to slice and dice resources? Why can that not apply to storage? I'm glad Nexenta gets that. Other storage companies (Compellent for one, DataCore too) get that. Why do others (I'm looking at you EMC) not understand that? RANT over.
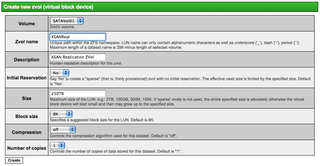
Okay, enough of that. Let's "create" a zvol – click on create.
See there? I chose the "Volume" SATAVol01. I then give the zvol a name, description and size and other useful settings. Notice the "Initial Reservation" setting – that's where I can choose to thinly provision my storage. Yes please.
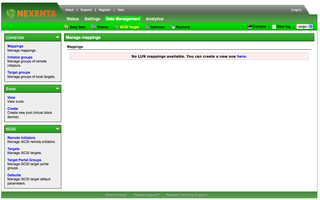
Great, click Create and it's done. Now, let's map that storage to my NVReplicator machine. Head back to Data Management – SCSI Settings. You're wanting the COMSTAR -> Mappings option now on the left-side.
Great, let's create a mapping.
It really is that easy. Drop down menus. Select the zvol. Select the group. Adjust any other settings and click Create. Wow.
Now, Let's USE This ZVOL
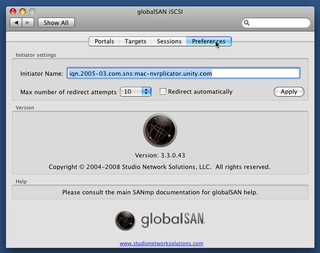
Okay, you've created and shared (zvol) some storage. Let's head to the NVReplicator machine and verify all is well. We use the FREE Global SAN Initiator for Mac OS X.
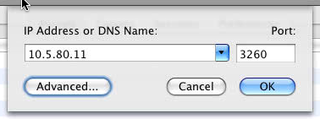
This just verifies our initiator name. Click Portals and add a portal for Nexenta.
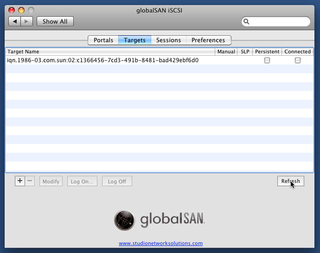
Great, 10.5.80.11 is the IP Address for our Nexenta iSCSI target. Click OK. Now head over to "Targets"
Hey, looky there. That's our zvol. Click on Persistent and Connected.
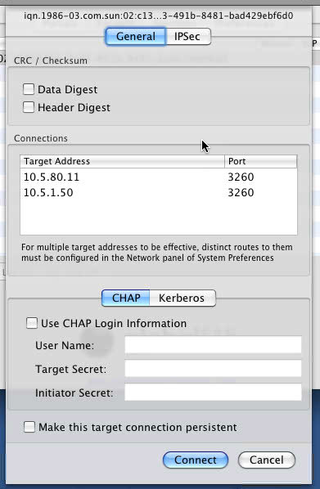
Here's where you can define any settings for connecting to this ZVOL. Click Connect.
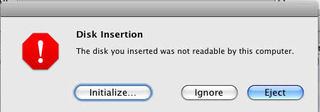
The first time you connect, you'll notice that MacOS has no history of this machine. So, you'll need to initialize, partition, erase, whatever the drive just like normal.
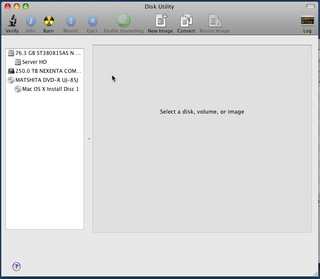
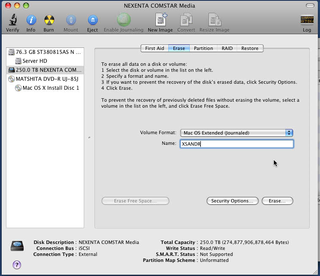
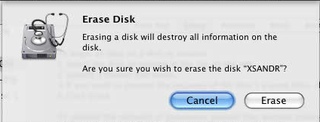
After you initailize it, you'll see the 250TB volume from NEXENTA in Disk Utility. Let's get it ready.
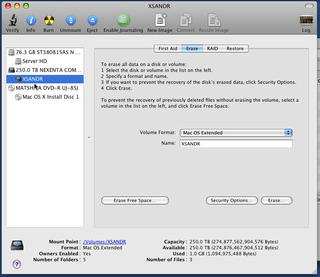
About 30 seconds later, you've got a usable volume. Look at it again in Disk Utility
That's enough for today. The screen shots make it seem complex, but it's not. It's VERY intuitive to create Nexenta storage, share it, and access it – even on a Mac! :) Up next is getting storage ready for my DR/Secondary ESX Cluster. Stay tuned!




Very nice decision. It`s very interesting to read from a architecture point. Our company made choice for Starwind`s software. It offers all features that we need as a hoster: thin provisioning, RAID and VTL for back-ups on tape
Phil Collins
Hey Phil, thanks for the comment. I’ve looked at Starwinds as well. It reminds me of a DataCore SAN Melody type solution. Pretty cool stuff!