Well, the time has come to install Sophos into production. Here are a few details about our initial specs for the Sophos server (cleverly named SOPHOS in our environment):
- 1 single vCPU (2.33ghz)
- 2gigs of vRAM to start
- Server 2008 Enterprise x86
- C: (System) Drive – 30gigs (based on our Server 2008 x86 Enterprise ESX Template)
- E: (Data) Drive – 50gigs (ish) – this is where I'll store the SQL 2005 Express Database, and the "share" for all the remote install bits, and other random goodies
- P: (Pagefile) Drive – 4gigs of high performance separate storage pool
//WARNING – as usual, I take lots of screen grabs so I can reference them later//
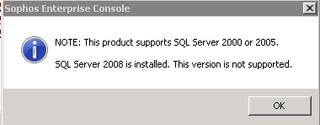
I had HOPED to use our big SQL 2008 box for the Sophos database, but it appears that Sophos doesn't quite yet support SQL 2008. When you try to automatically install the Database, you don't even get the option. The Database install had the "Red X" and when you try to change that, you get the following error:
That's no big deal to me really. I know it WILL support SQL 2008 eventually, so for now, I'll happily install it on SQL 2005 Express locally and I'll migrate over to SQL 2008 when the support for that is added.
Anyway, since we're installing Sophos on Server 2008, we will first need to install SQL 2005 Express. This is pretty straightforward. I just installed the default instance (SQLEXPRESS) using Mixed Mode authentication using a strong "sa" password. I also installed the SQL Server Management Studio Express. I like to have as much visibility/control into my SQL Express installs.
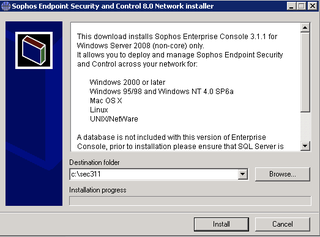
Anyway, now that SQL 2005 Express is installed, it's time to install. I downloaded and started the install for Sophos Enterprise Console 3.1.1 for Windows Server 2008. It unpacks everything for you and starts the install process.
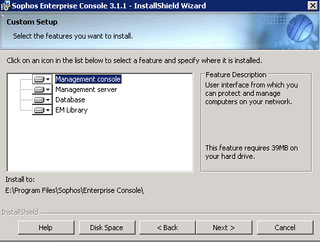
Once the installation process begins, accept the EULA, choose the installation location, and then I chose "Custom" for the install type. The next screen allows you to choose details.
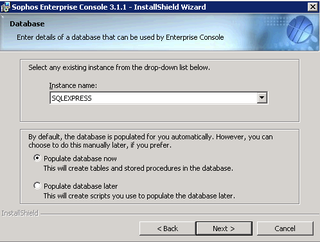
Next you'll be prompted for the SQL install instance and whether you want to Populate the database. We do. Choose that option and click Next.
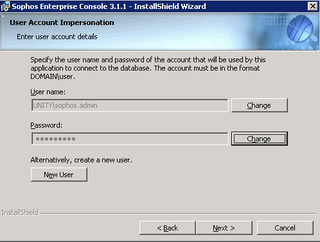
Next you'll be prompted for the authentication credentials for connecting to the database. We have previously created the "sophos.admin" account with a strong password. Populate those fields accordingly and move on.
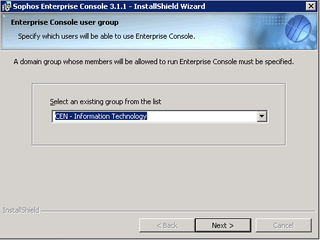
You can then choose whether to send Sophos usage reports, and then start the Install. Go grab a quick cup of coffee and come back. This only takes a few minutes. The next option is to choose the Active Directory group that is allowed to administer Sophos. For our context, that's the Central IT Group.
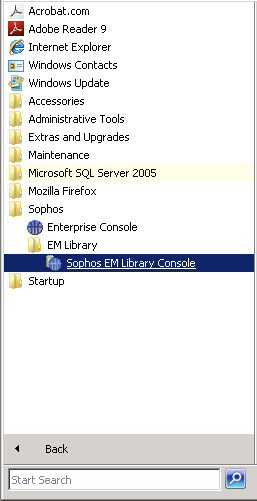
Hooray, Sophos is installed and you're prompted to Logoff and then you can continue configuration. So, check the "Log off now" box, click Finish. Wait a minute, then log back on the Sophos machine. Since I live 700 miles away from our Central ESX Cluster, I'm managing the servers (and installing software) remotely via a Remote Desktop Client (CoRD) on my Mac. That means, the next step doesn't happen automatically. Navigate through the Start Menu and launch the Sophos EM Library Console.
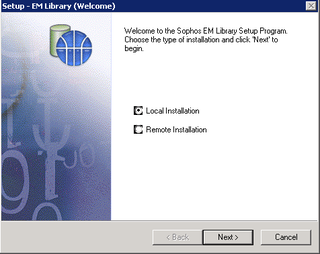
We need to Create a new library. Choose that option. We want a Local installation.
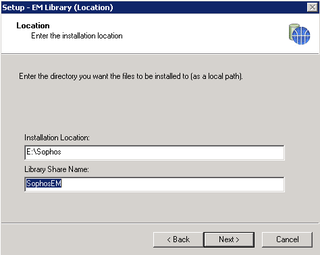
We're going to install our library on the local Sophos server – on the E: drive that we created in the Sophos folder.
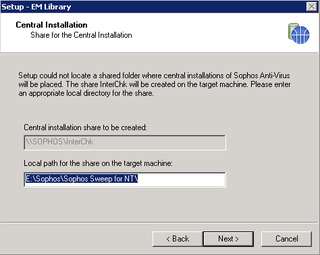
The next thing to do is choose where the share installation files will be located. Again, ours will go on the E: drive in the Sophos folder.
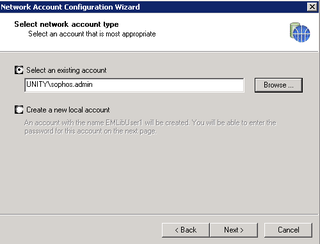
Great, now install. This takes just a couple minutes, and after the install, a new Wizard appears for configuration of the EM Library account. Again, we'll use the special sophos.admin account we created for this purpose.
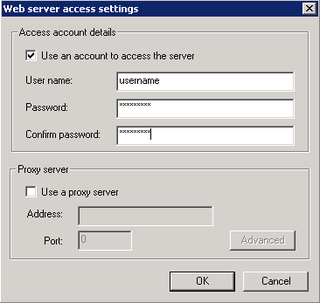
We're now ready to configure the EM Library to get packages and prepare them for distribution. Notice that our Packages pane is "blank" – we need to first enter our credentials from Sophos that allow us to download/update software. Navigate to Library -> Properties and choose the Primary parent tab. The appropriate sophos website will be chosen, click Set Access and enter the credentials given to you from Sophos.
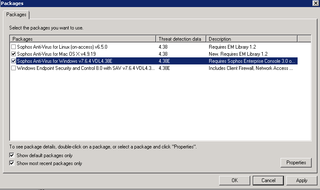
Now choose Library -> Select Packages. Your credentials will be verified, and you'll be presented with a list of packages to choose. In our context, we want to choose AV for Mac OS X and Windows. Click OK.
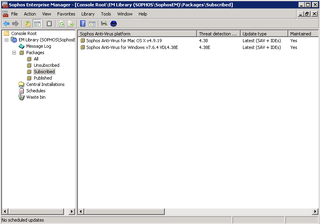
You can now see these packages under the "Subscribed" pane.
Now, select Library -> Download Packages. The Subscribed packages will be updated and downloaded to your Sophos EM Library.
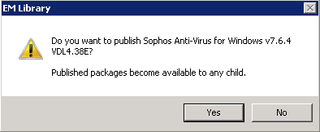
Great, now you've subscribed. Now you've downloaded. Now it's time to "publish" the packages for remote installation. Right-click on each package. Choose Publish. Click Yes.
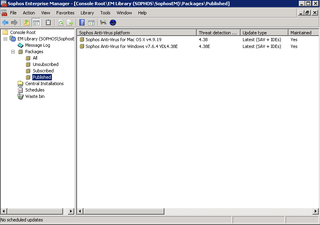
Your packages now appear in the Published pane.
Your packages can now be installed from the UNC path you setup earlier, or better yet, push the packages remotely using the Sophos Enterprise Console. That's what we're gonna do. More on that at a later time. This was just the initial setup stuff.
