Well, the time has come. It's time to start transitioning our current Exchange 2007 environment to Exchange 2010.
Here's a little info re: our current Exchange 2007 environment:
- Single Exchange 2007 Enteprise – running CAS, HT & Mailbox roles
- Virtualized in vSphere 4 (4x hosts with 4x cores / 32gigs of physical RAM each)
- 2 vCPU
- 16gig Ram assigned
- Approximately 400gigs of mailstore
- 5 Storage Groups & 9 Databases
Here's a little info re: our new/future Exchange 2010 environment
- Two Exchange 2010 Enterprise – both running CAS, HT & Mailbox roles
- Again, virtualized in vSphere 4
-
- Server 1 – Exchange01 – Central / primary site (4x hosts with 4x cores / 32gigs of RAM each)
- Server 2 – Exchange02 – DR site (2x hosts with 4x cores / 32gigs of RAM each)
- 2 vCPU each
- 16gig RAM assigned each
- I'll keep the same Storage Groups / Databases
-
- I'll be implmenting DAG – Database availability Groups
- I'll also be implementing somesort of CAS / HT high availability
So, let's get started.
Install Prerequisites
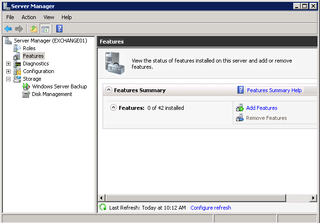
So, let's focus on the first Exchange 2010 box – Exchange 2010. Log on and and open up the Server Manager -> features section:
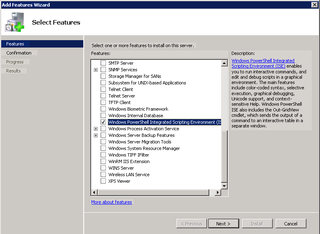
Let's add a Feature. I like to install the Powershell ISE – Integrated Scripting Environment – click that. This is NOT required – this is just something I like to install.
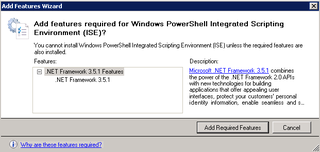
Yup – looks like it wants to install the .NET Framework 3.5.1 – that's fine. Add it.
Looks good. Next.
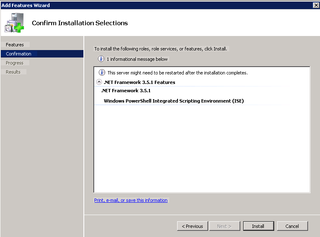
Great. Install.
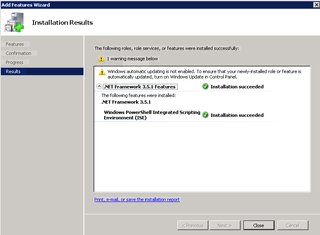
Great. Close.
Now, it's time to get the REST of the pre-requisites. You've got a couple options. First of all, you could go to this technet article and follow all the steps. Sure. You could do that.
Or, you could use this script and get them all taken care of in one fell swoop. Giant shout out to my friend @cgreentx for turning me toward this script.
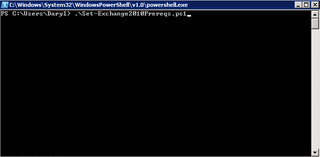
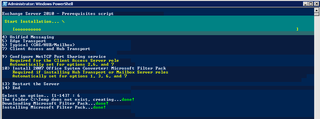
I choose script. Copy that and open powershell. Run it.
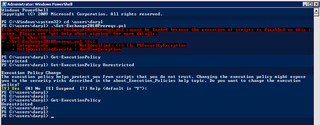
Wait – something barfed.
Looks like script execution policy. Let's set that to be more permissive and then move on.
Great. We'll set it back later. Let's re-launch the powershell script for the pre-reqs.
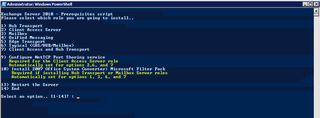
Much better. We want option 6 – we'll be putting CAS, HT and Mailbox on this box.
Okay – looks like things are working. The MSFT Filter pack has downloaded and installed. The rest of the installation is installing all the pre-req's noted in the articles above. When all is setup – the box will automatically reboot – be ready for that. It doesn't warn you – it just reboots.
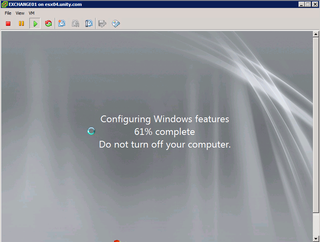
Let's jump into the vSphere Client and see how things are going.
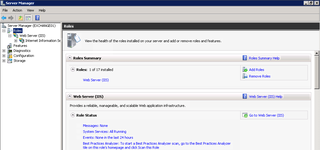
Great. Wait a few minutes. Now, when things are back, logon the box, and check the Server Manager again.
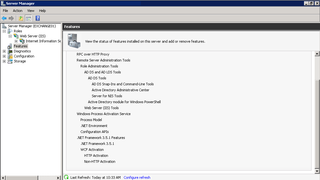
Looks like the IIS Role pre-req was installed. Now check Features.
Great. Looks good. Let's go ahead and set the power shell back to restricted execution mode.
Now – let's do the same steps for Exchange02 – our secondary Exchange 2010 box.
Great. Now, let's see what else is needed.
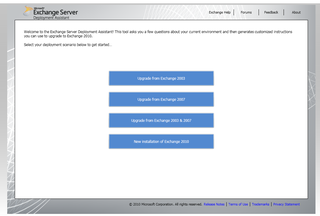
For Exchange 2010, the Exchange Server Deployment Assistant is a must have tool. Launch that.
We are upgrading from Exchange 2007 of course.
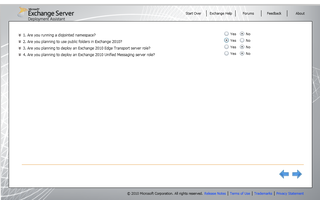
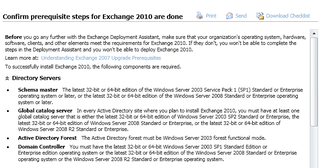
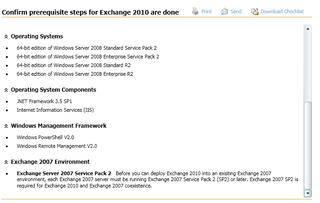
Choose the appropriate options for you. Click next (right arrow). Step 2 is "Confirm prerequisite steps for Exchange 2010 are done."
I think we're good. Let's get the media ready. I noticed a line on the checklist that states:
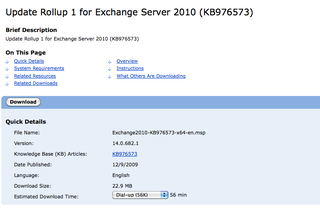
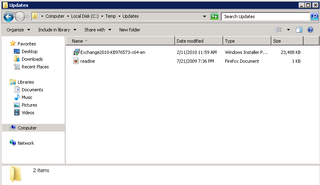
So, let's go get the latest Exchange 2010 Rollup. Download that, extract the media, and copy the rollup into the "Updates" folder as suggested.
Got it? Cool. And yes, I just took a moment to get the media ready on Exchange02 too.
Okay – now we're ready to launch setup. We'll take off from here in Part 2 and work on the Client Access (CAS) Role. Stay tuned.
